

 Deutsch
 Español
 Français
 Hrvatski
 Italiano
 Polski
 Português (BR)
Create Basic Ticket Report Templates
Overview
Basic templates allow you to define which ticket data and attributes to include in a PDF ticket report.
They offer only limited customisation and formatting options compared to the Template Builder, as described in Create Advanced Ticket Report Templates.
Access & Permissions
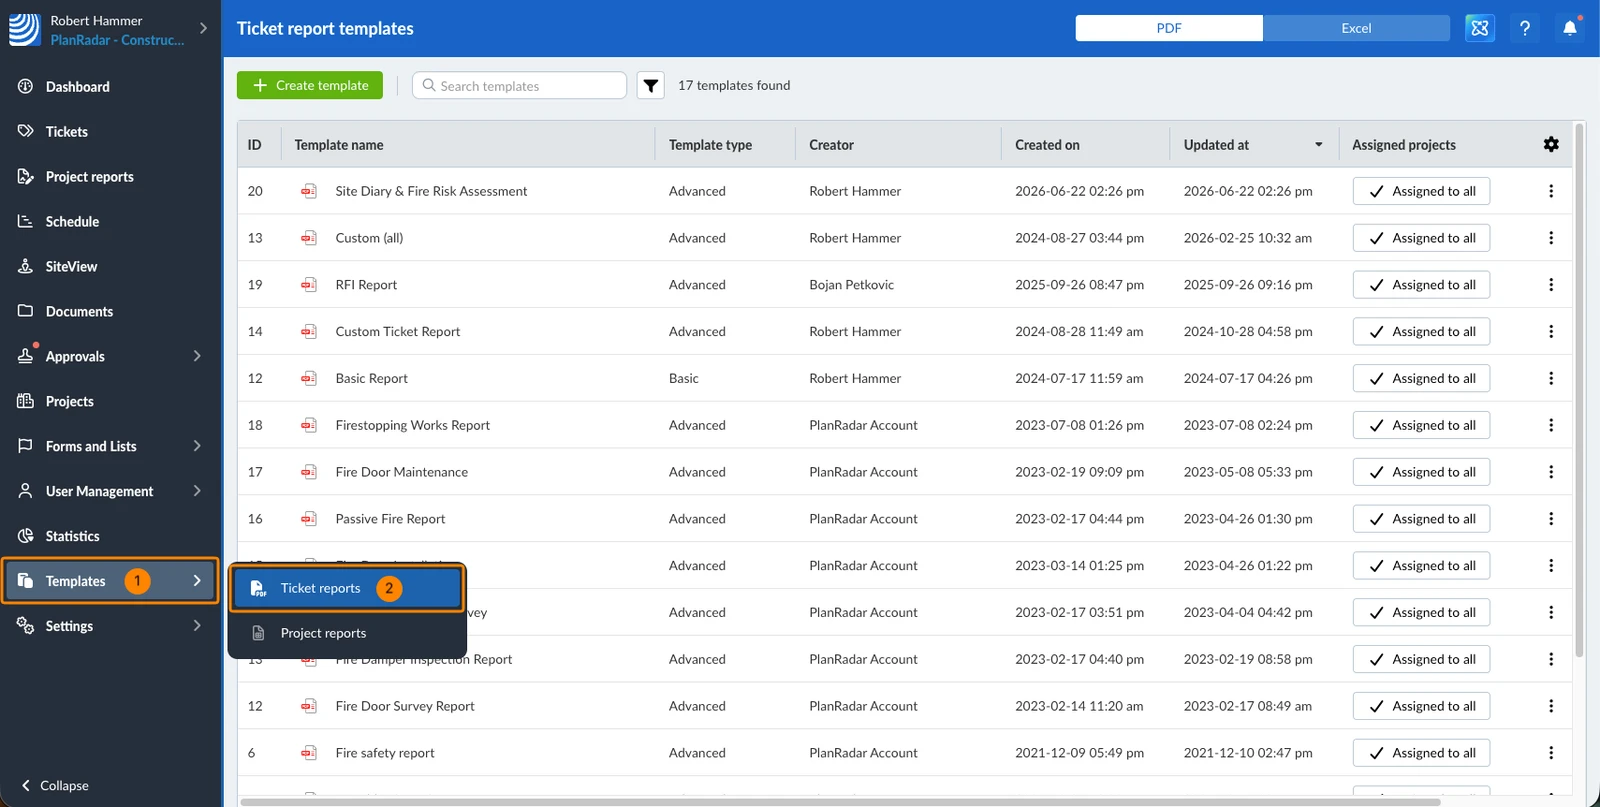
How to access Ticket Report Templates
- Click Templates
- Click Ticket reports
Create a Basic Template
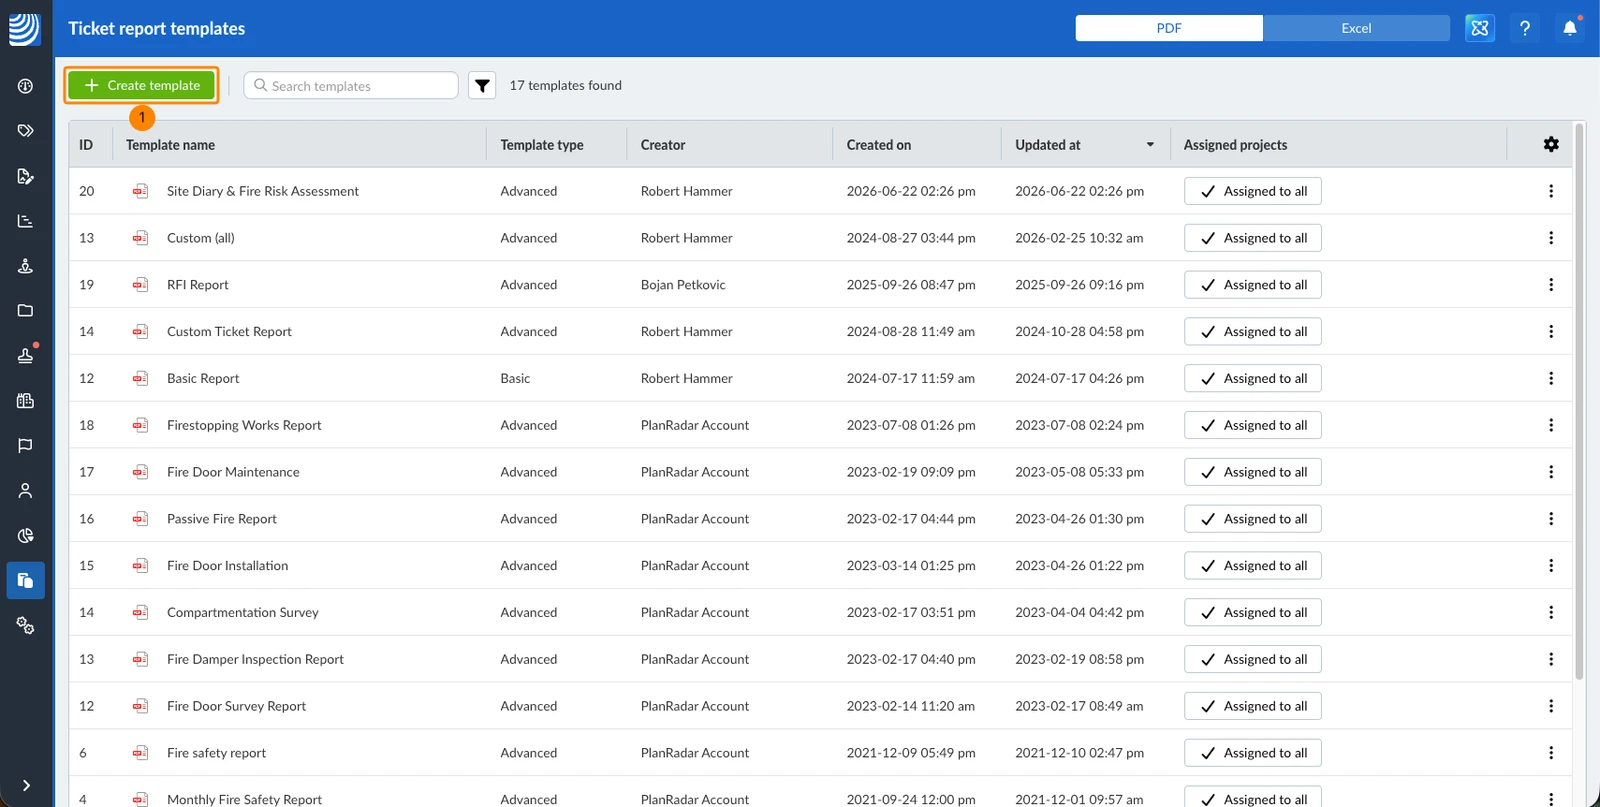
To create a basic template for PDF ticket reports:
- Click + Create template
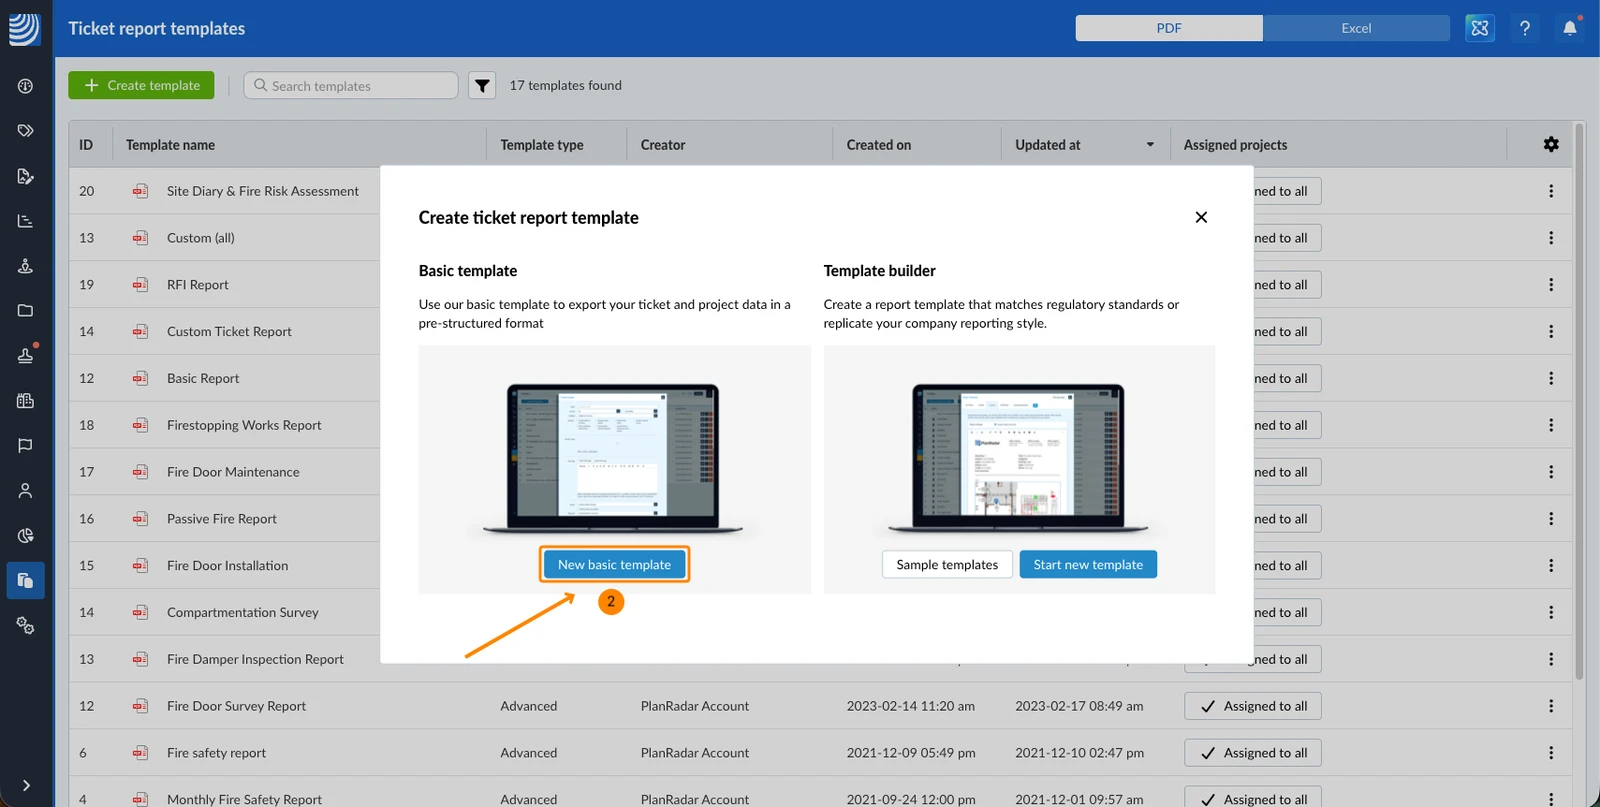
- Click New basic template
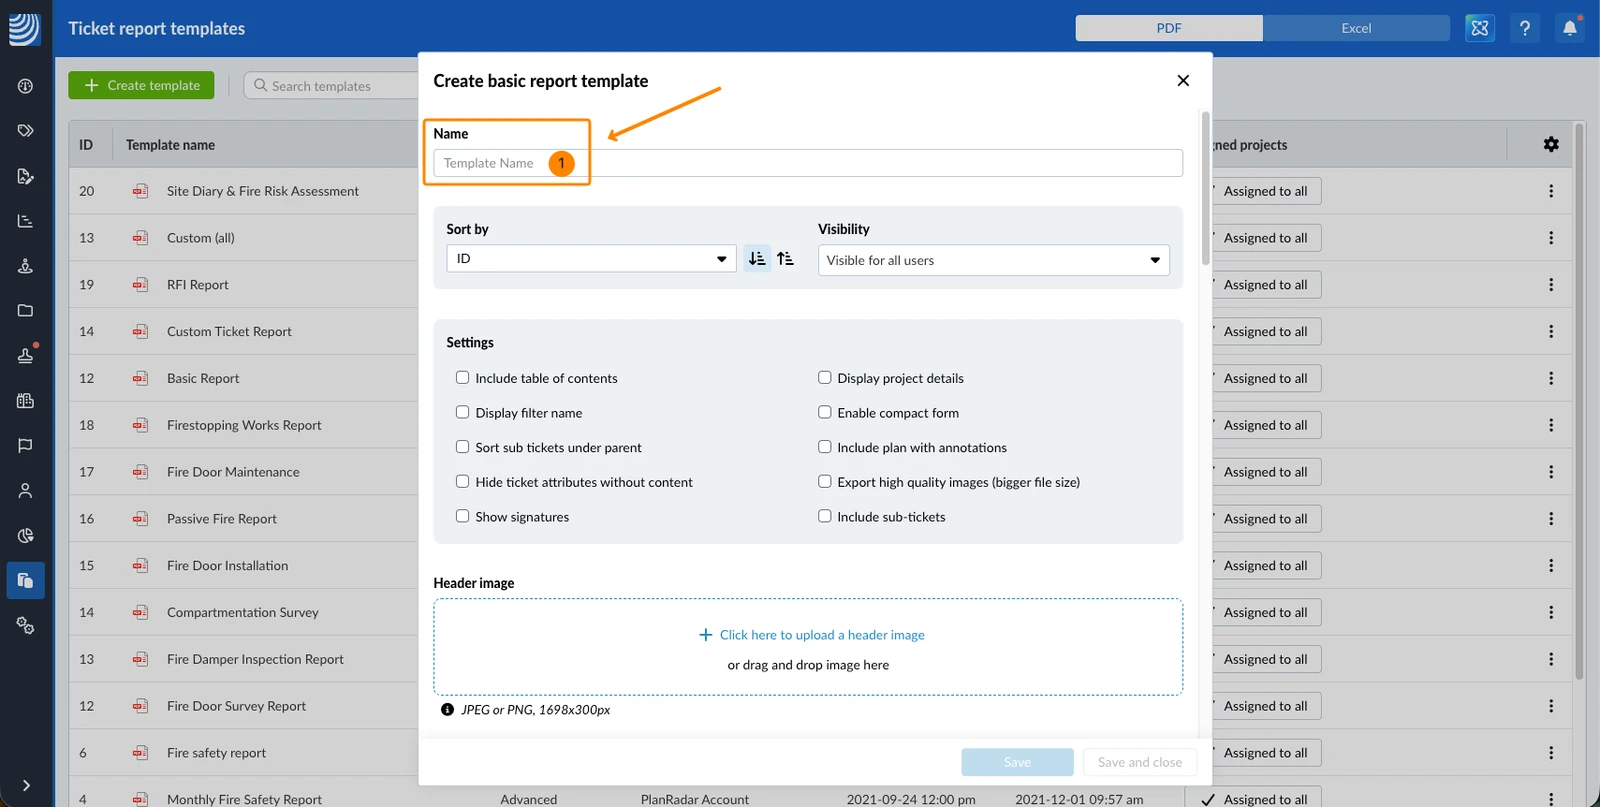
When creating a basic template there are several fields and settings that allow you to customise the template to your needs. These are described in the following sections.
Name
The template name is used to identify it when creating PDF ticket reports.
- Enter Name
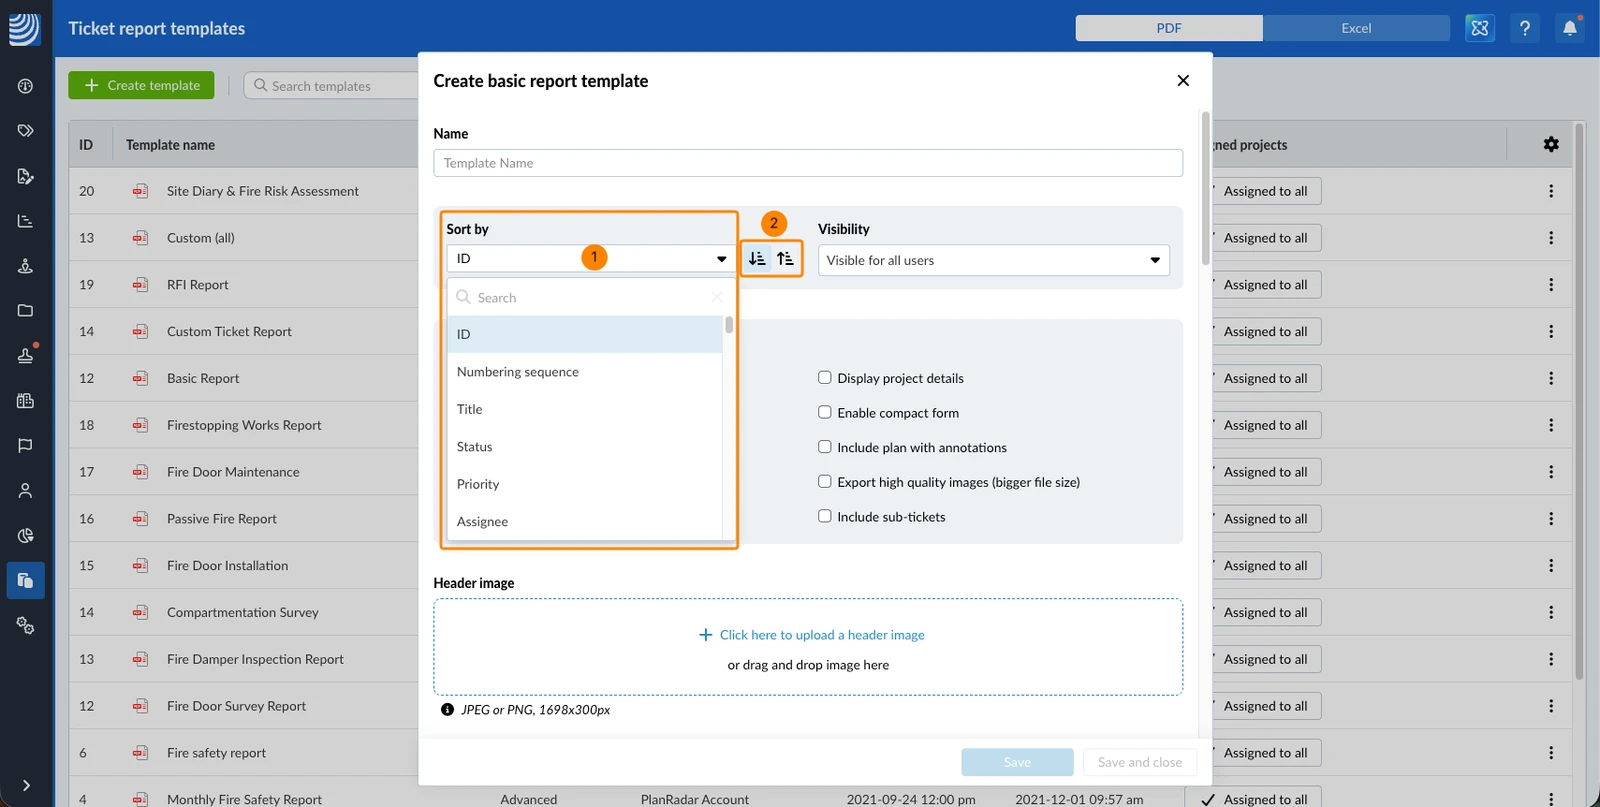
Sort by
By default, tickets are sorted by Ticket ID in an ascending order. To change that:
- Select a ticket form field in the sort by drop-down
- Click the Ascending or Descending icon
Visibility
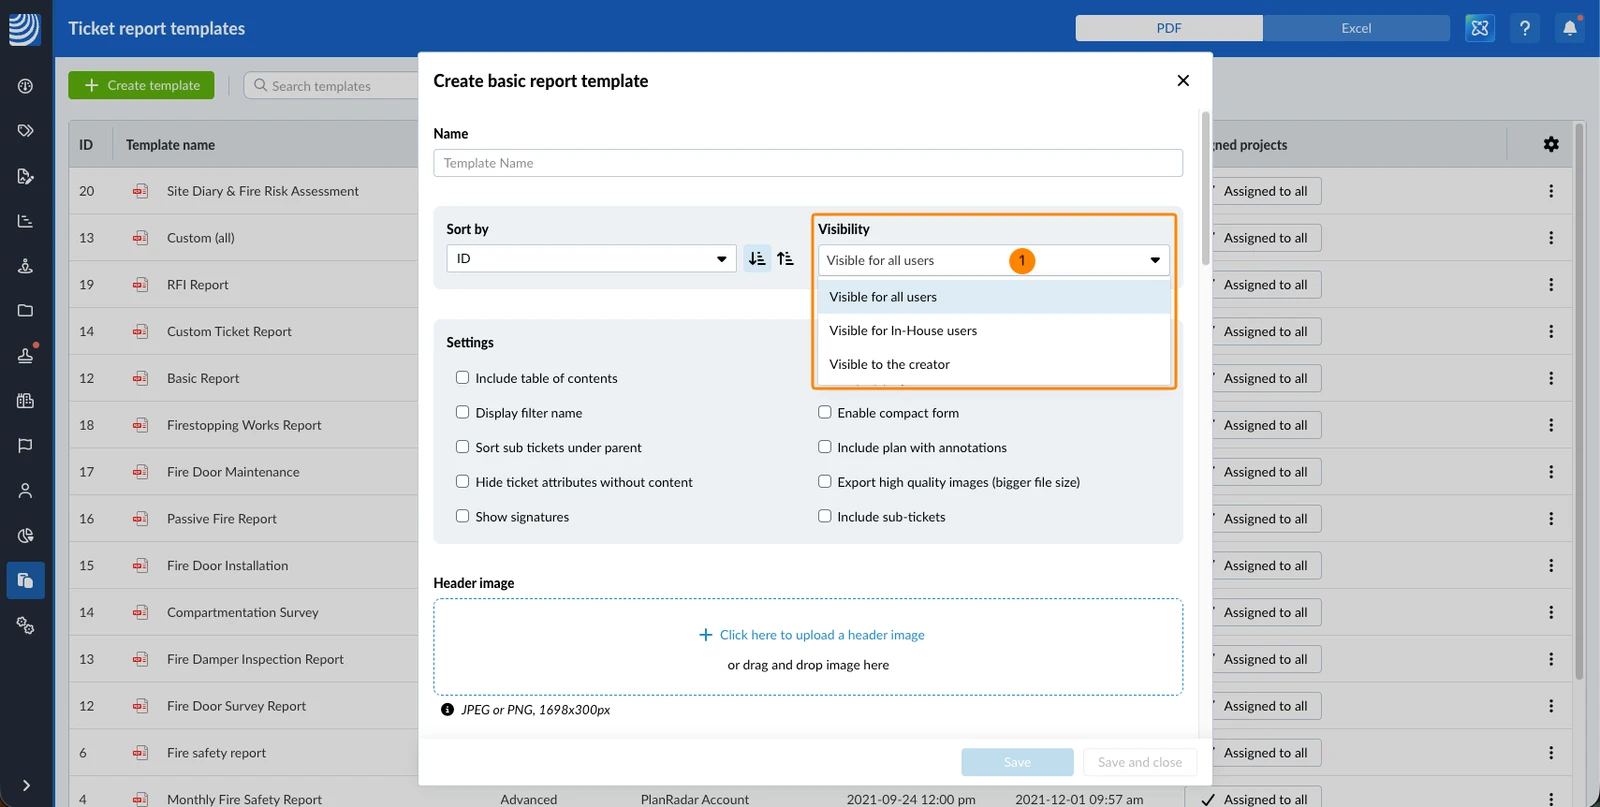
Visibility defines which users can use the template to create ticket reports.
By default, Visibility for all users is selected. To change that:
- Select Visible for In-House users to hide it from subcontractors and watchers
OR select Visible for the author to hide if from everyone else.
Settings
By default, all settings are disabled. To change the settings:
- Select/clear the following checkboxes
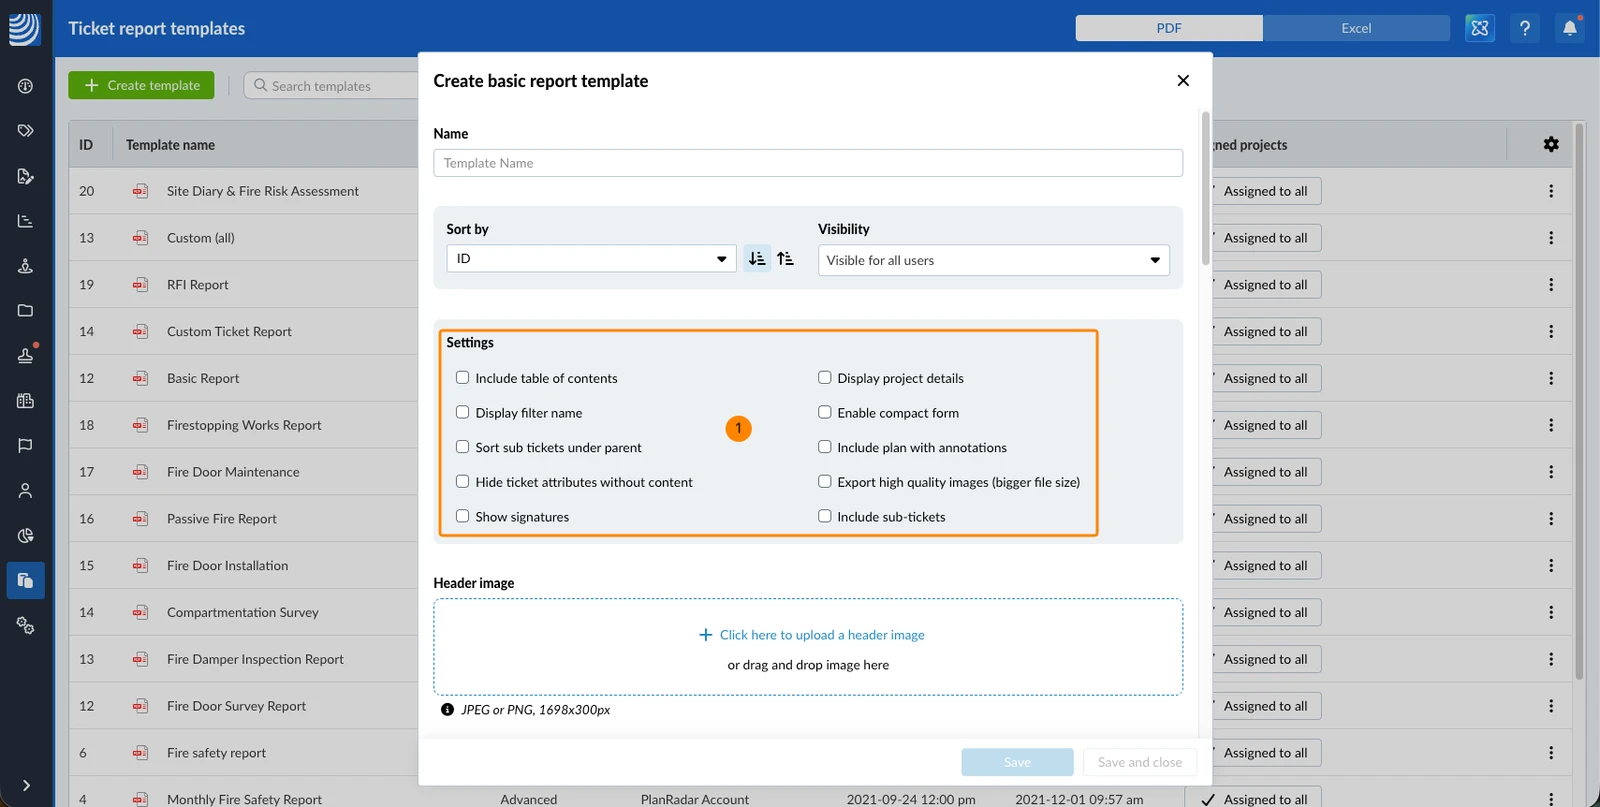
Available settings:
- Include table of contents: Include a table of contents with ticket titles, IDs and page numbers after the title page.
- Display project details: Include details about the project on the title page.
- Display filter name: When creating a ticket report you can apply a saved filter to only include specific tickets in the report. With this setting you can display the filter name on the title page under the project name.
- Enable compact form: Enable to remove page breaks after each ticket.
- Show Sub-Tickets under ticket: Sub-tickets are listed under their parent ticket. Sub-tickets that don't match the filter when you create the report will not be included.
- Include plan with annotations: Include plan(s) with all ticket locations at the end of the report.
This option is not be confused with the option to include ticket locations under each ticket, as described in Plan below. - Hide ticket attributes without content: Exclude empty ticket form fields.
- Export high quality photos (bigger file size): Photos attached to tickets will have higher quality at cost of bigger file size of the PDF ticket report.
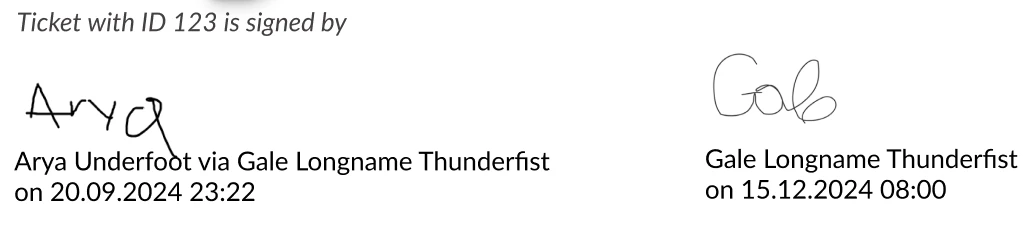
- Show signatures:
If enabled, all signatures (including name and timestamp) will be displayed at the end of each corresponding ticket. Read more in Sign a Ticket.
- Include sub-tickets:
If enabled, all sub-tickets of the included parent tickets are added to the report — even if a sub-ticket was not manually selected or does not match the filter criteria. Sub-tickets you do not have permission to view are not included.
Header Image
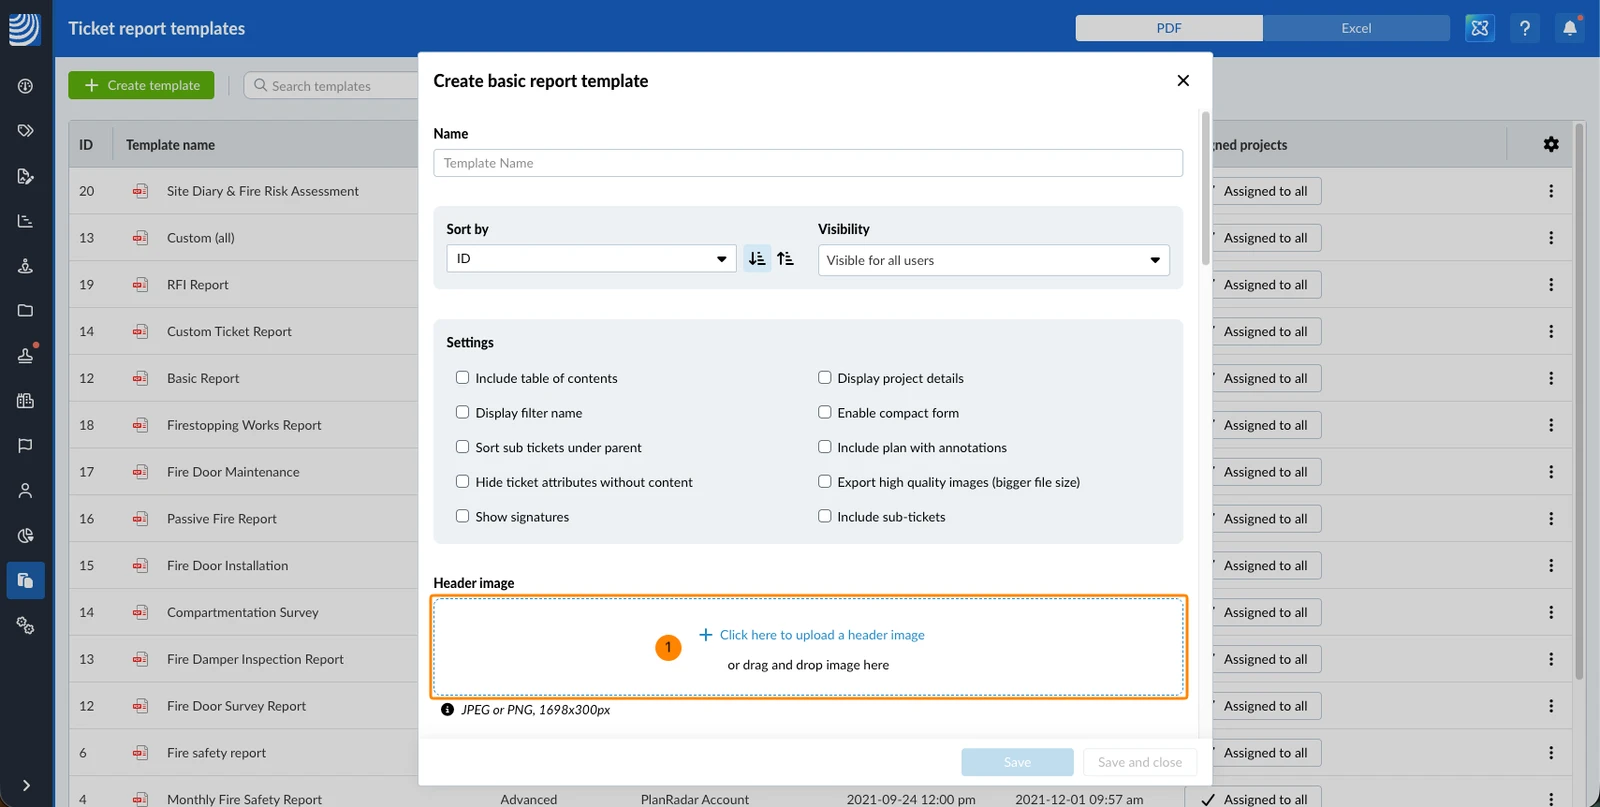
By default , the project name is displayed in the header of every page except the title page. You can optionally upload a header image to replace the project name in the header.
The maximum resolution is 1698 x 300 pixels and the format must be JPEG or PNG.
To upload a header image:
- Drag and drop the file from your file browser to the empty area.
OR click the area and select the file in the file browser.
Title Page
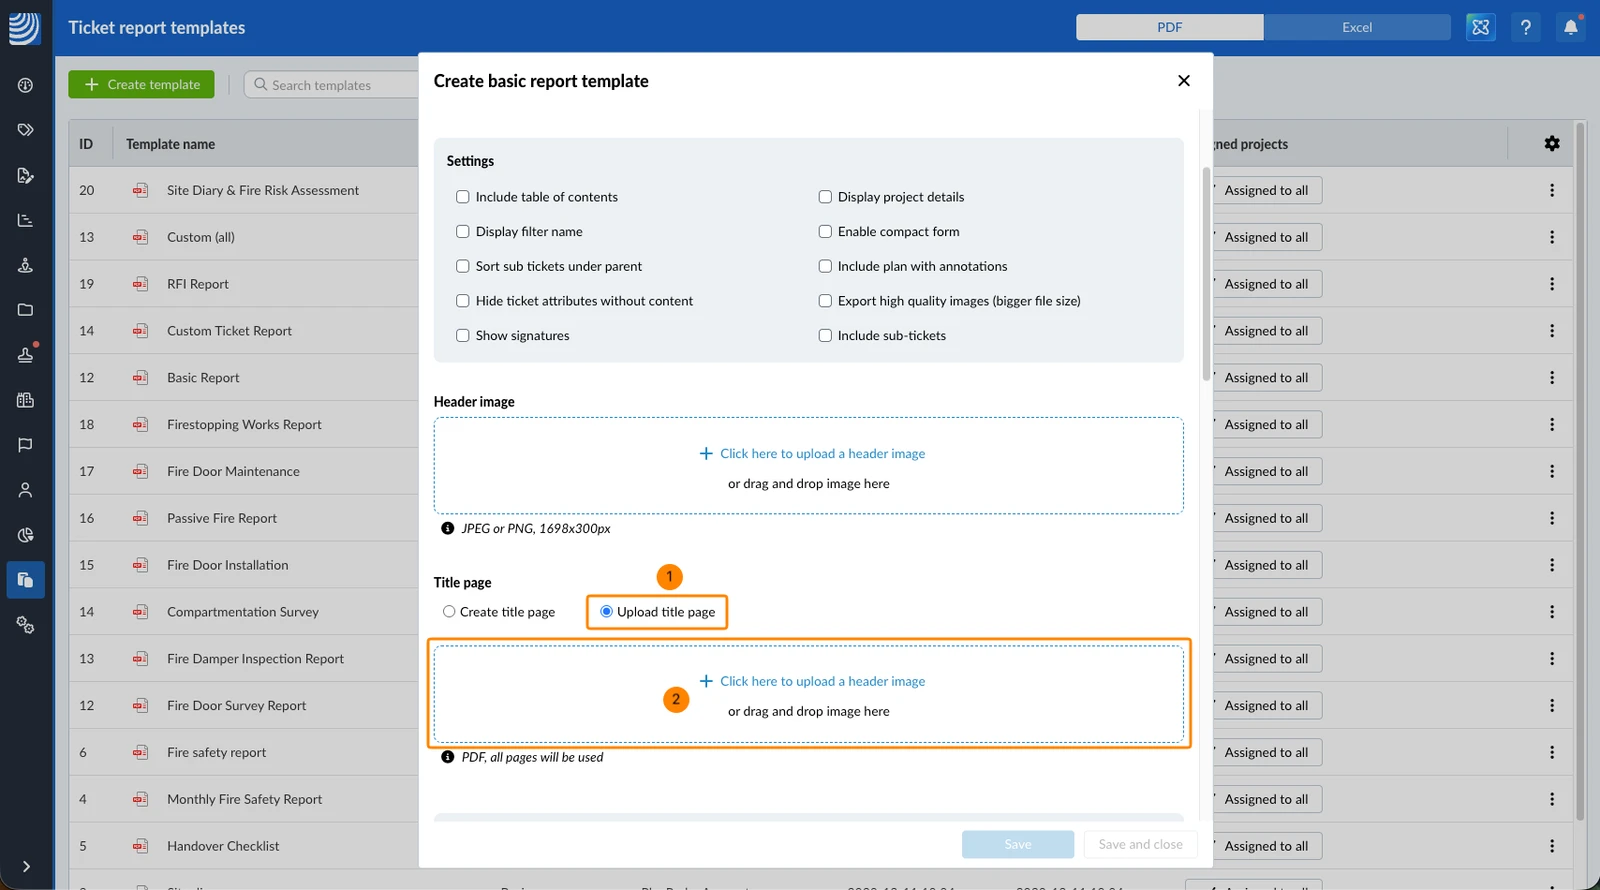
You can optionally create a custom title page including replacement token or upload a title page(s). Read more in Add Replacement Tokens to Ticket Reports.
To upload a title page:
- Click Upload title page
- Drag and drop the PDF from your file browser to the empty area.
OR click the empty area and select the PDF in the file browser.
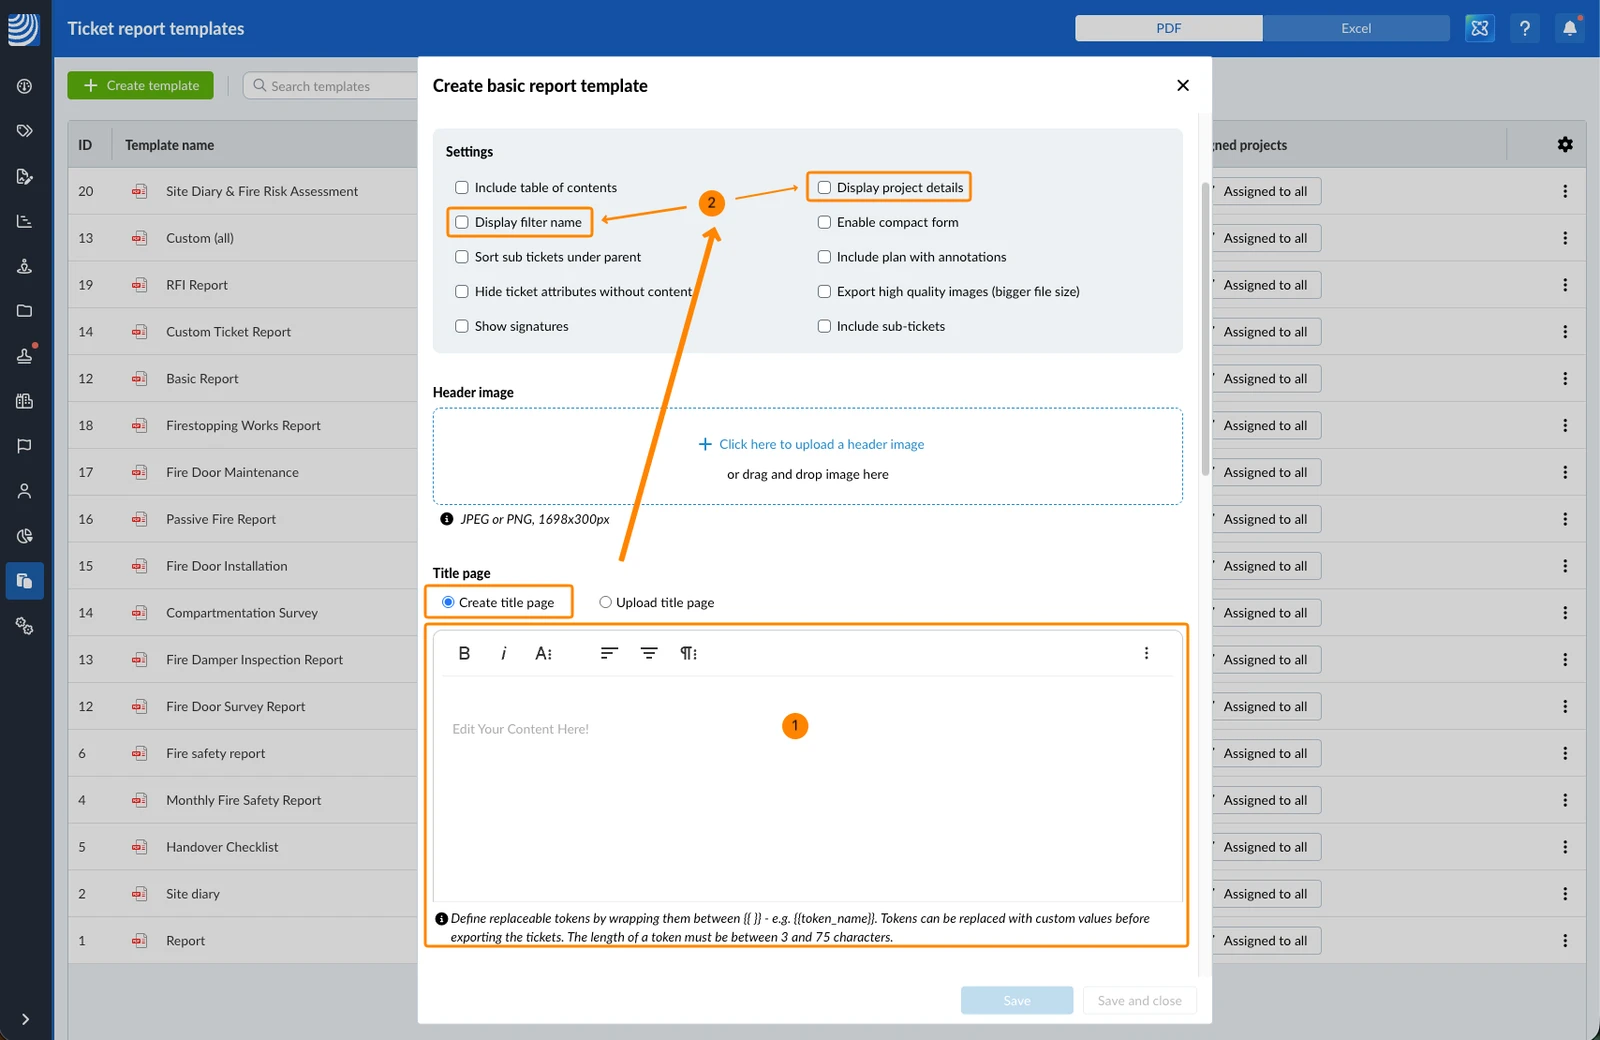
To create a title page with the text editor:
- Type your text and use the formatting toolbar.
- Note that project details and filter name are included in the title page if their settings are enabled.
Images
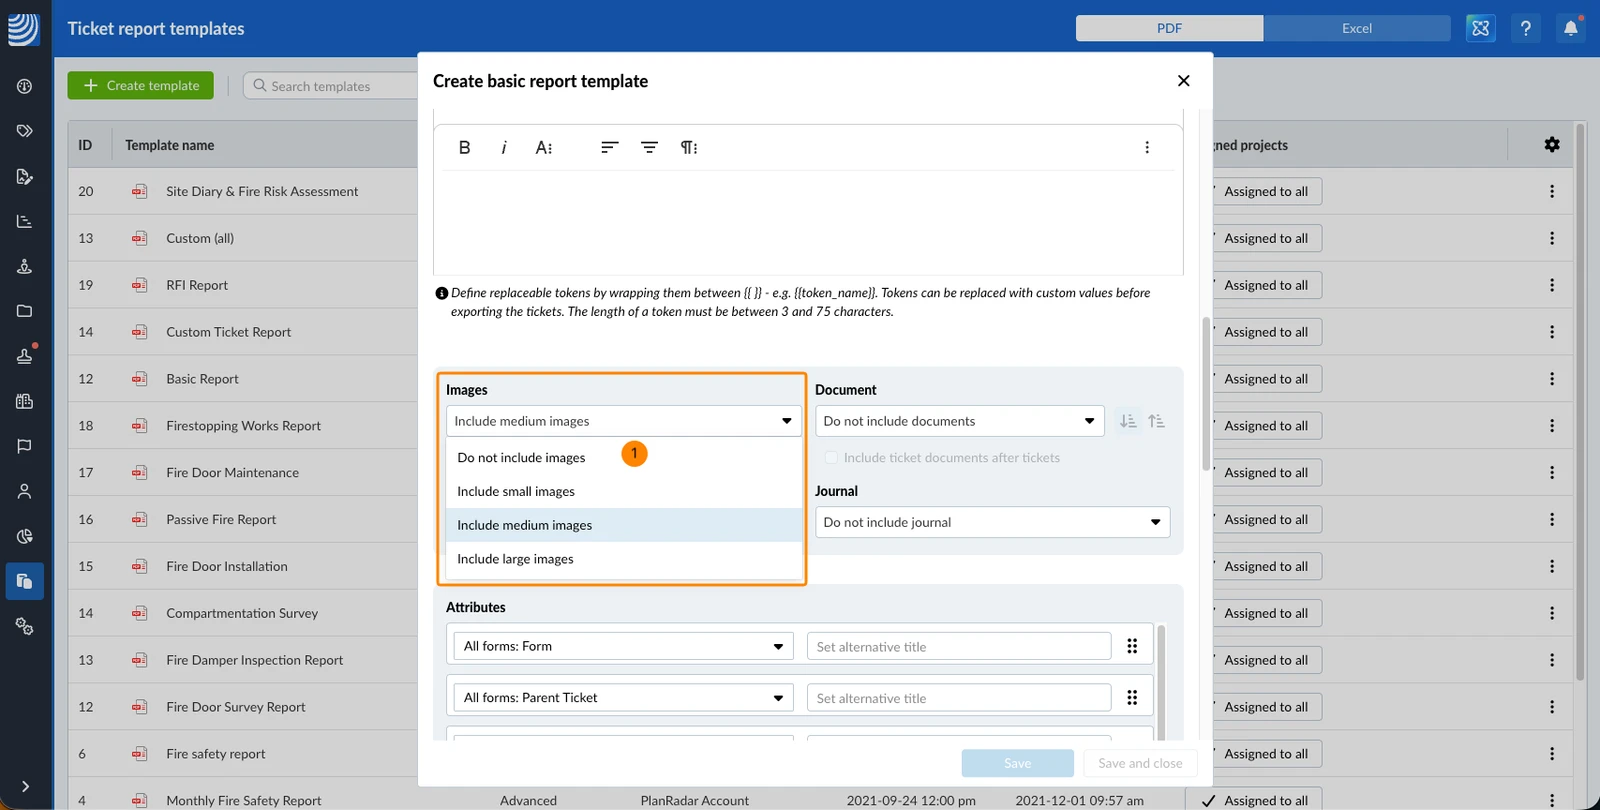
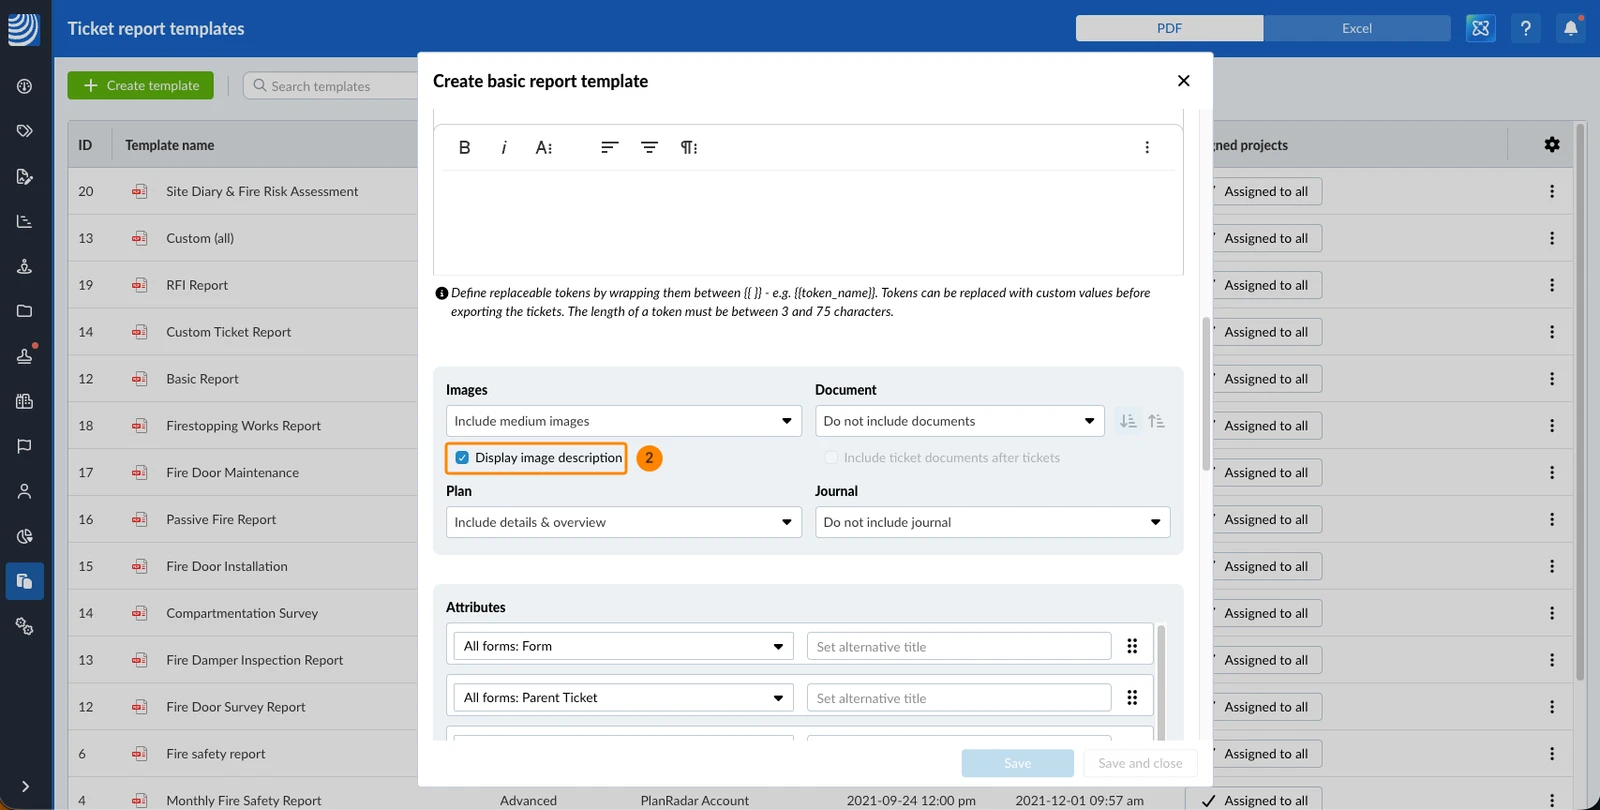
The Images setting allows you to include images that are attached to tickets and specify their size.
By default, Include medium photos is selected. To change that:
- Select Do not include photos, Include small photos OR Include large photos.
- Optional: Select the Display photo description checkbox
Document
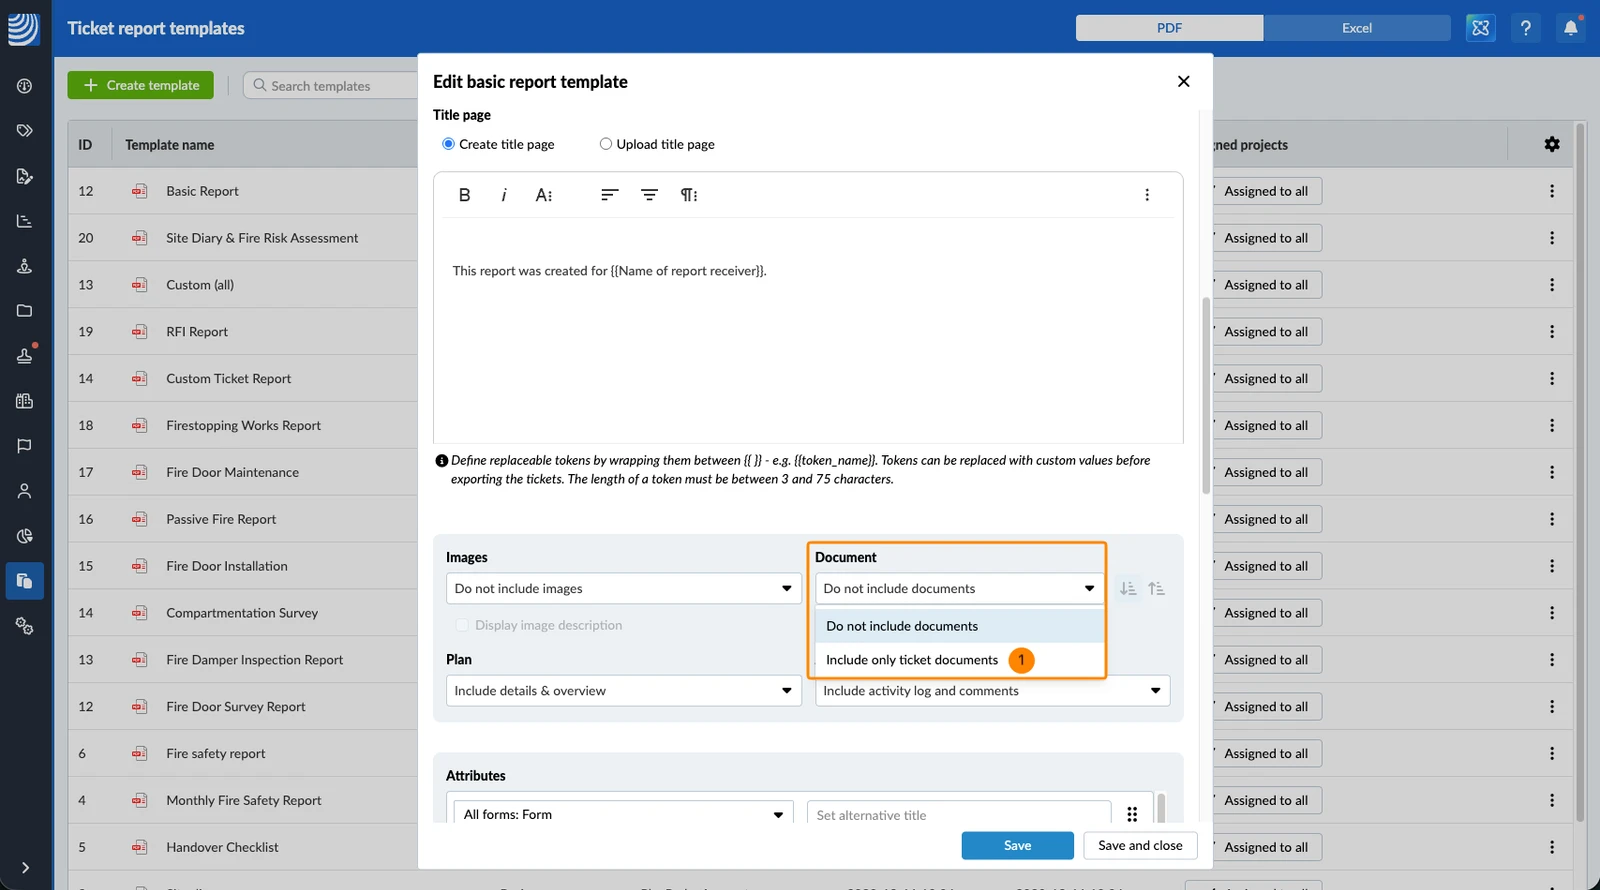
You can include ticket documents. Also see Add Attachments to Tickets.
By default, Do not include documents is selected. To change that:
- Select Include only ticket documents
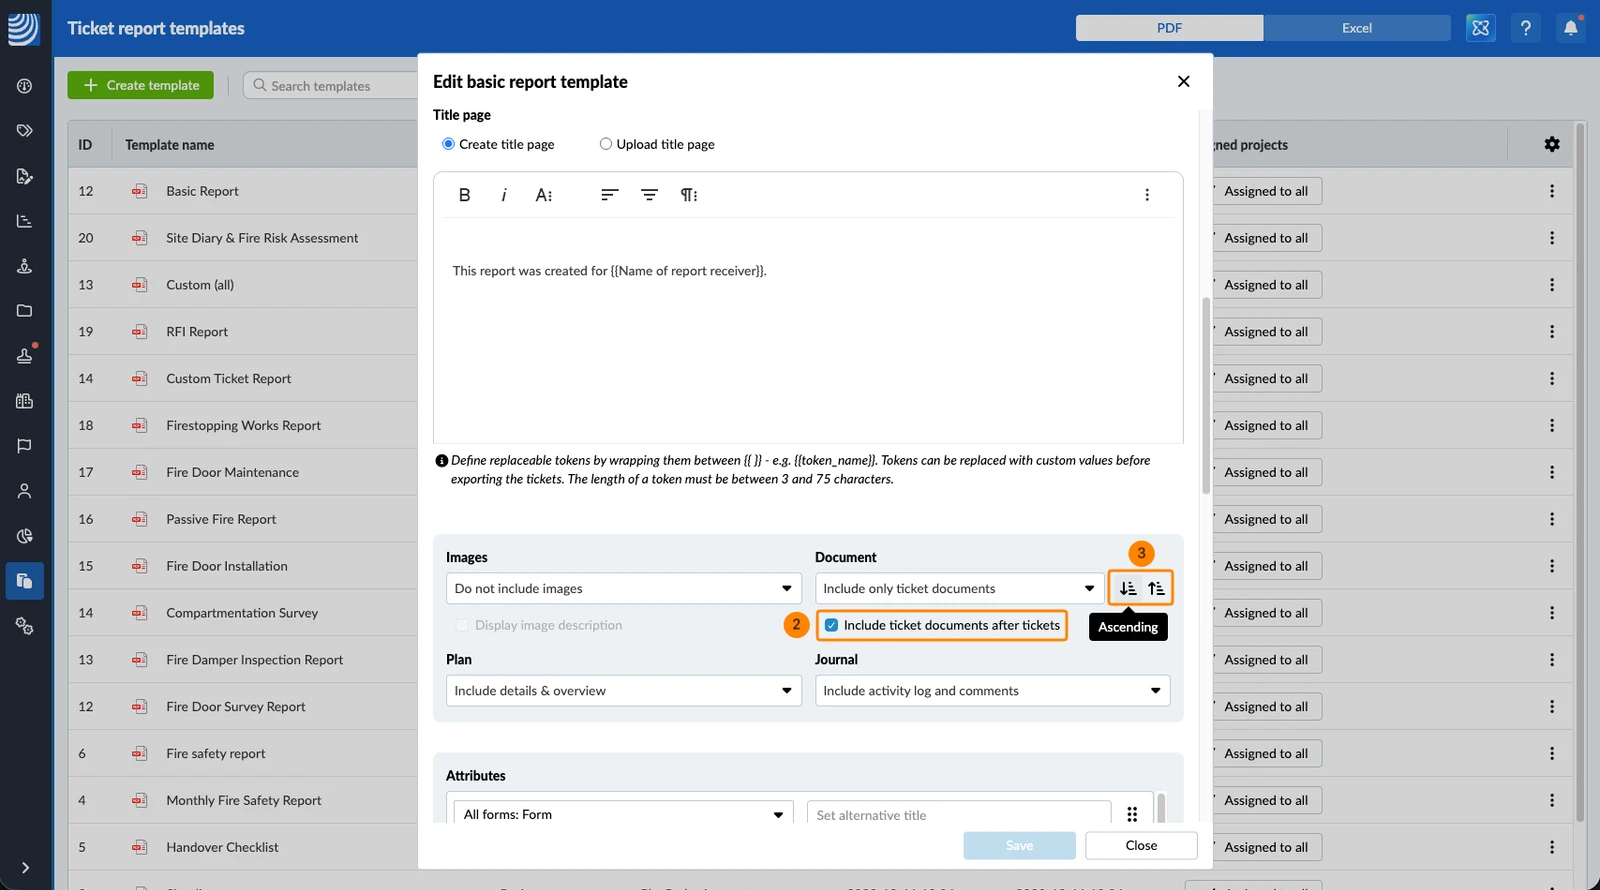
- Optional: To include all the pages of ticket documents at the end of each ticket, select the Include ticket documents after tickets checkbox (only available if you selected Include only ticket documents).
- Optional: Change sorting order to Ascending or Descending
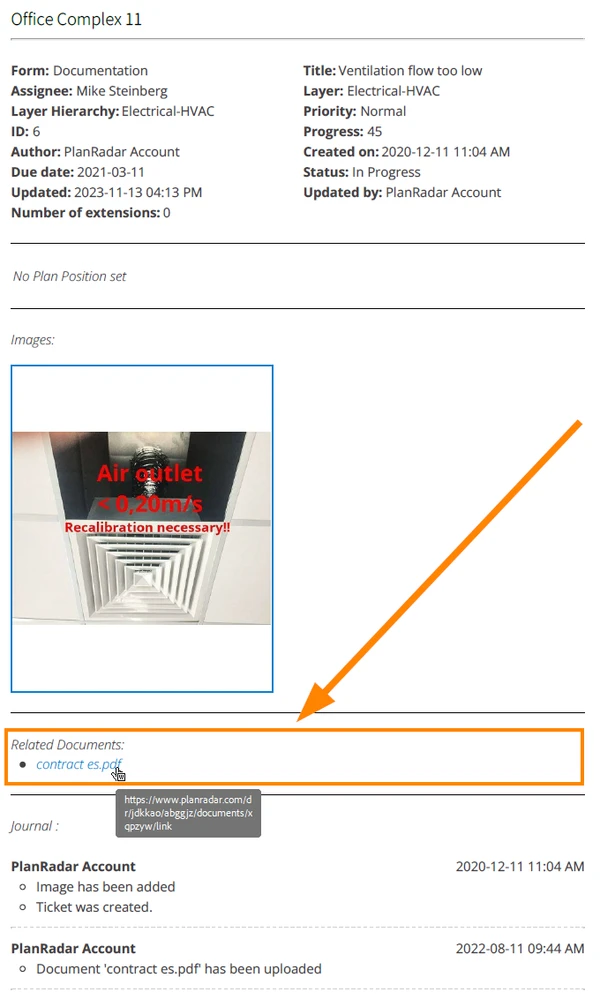
If ticket documents are included, their titles are always listed under the Related Documents section with links to the actual document in PlanRadar. They are placed after the images and before the journal of each ticket.
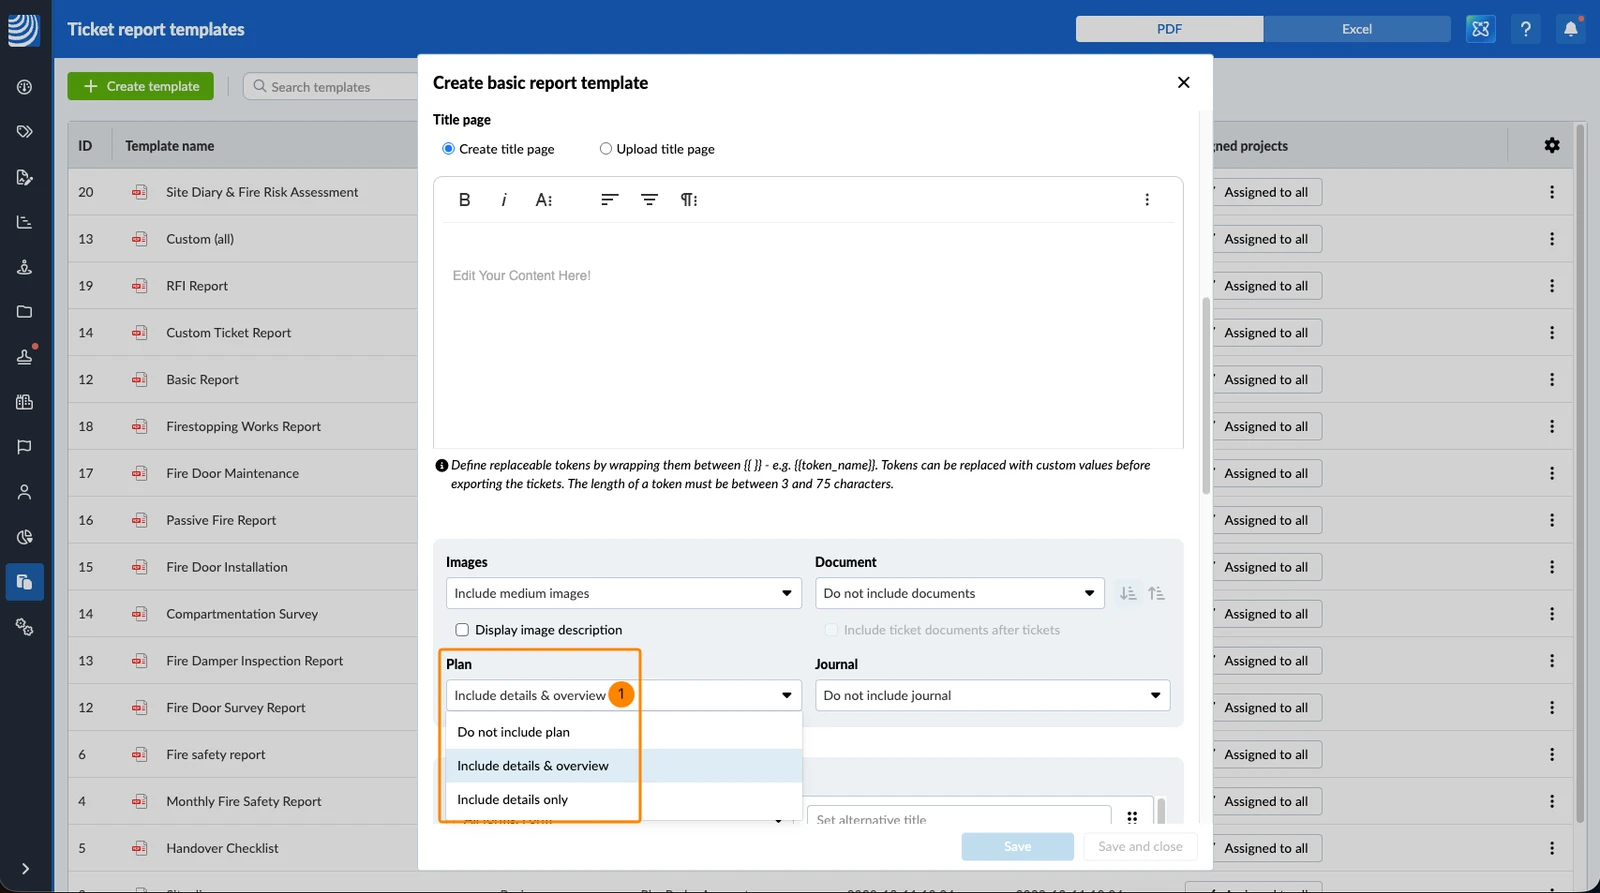
Plan
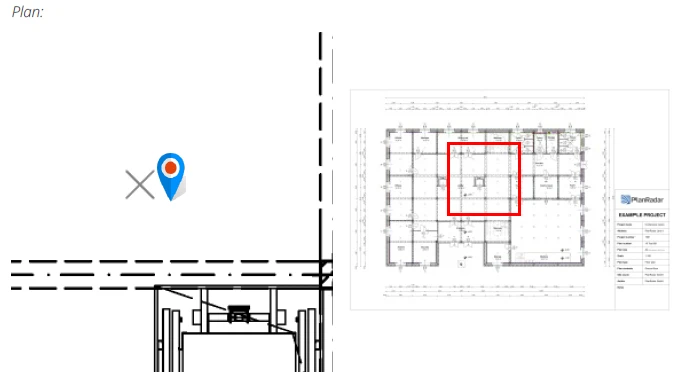
This is to show the ticket position zoomed in on the plan (option Include details) and to show the whole plan with the area of the ticket position highlighted (Overview) under each ticket.
By default, Include details & overview is selected for Plans. To change that:
- Select Do not include plan OR Include details only
Include details & overview looks like this in the ticket report:
Journal
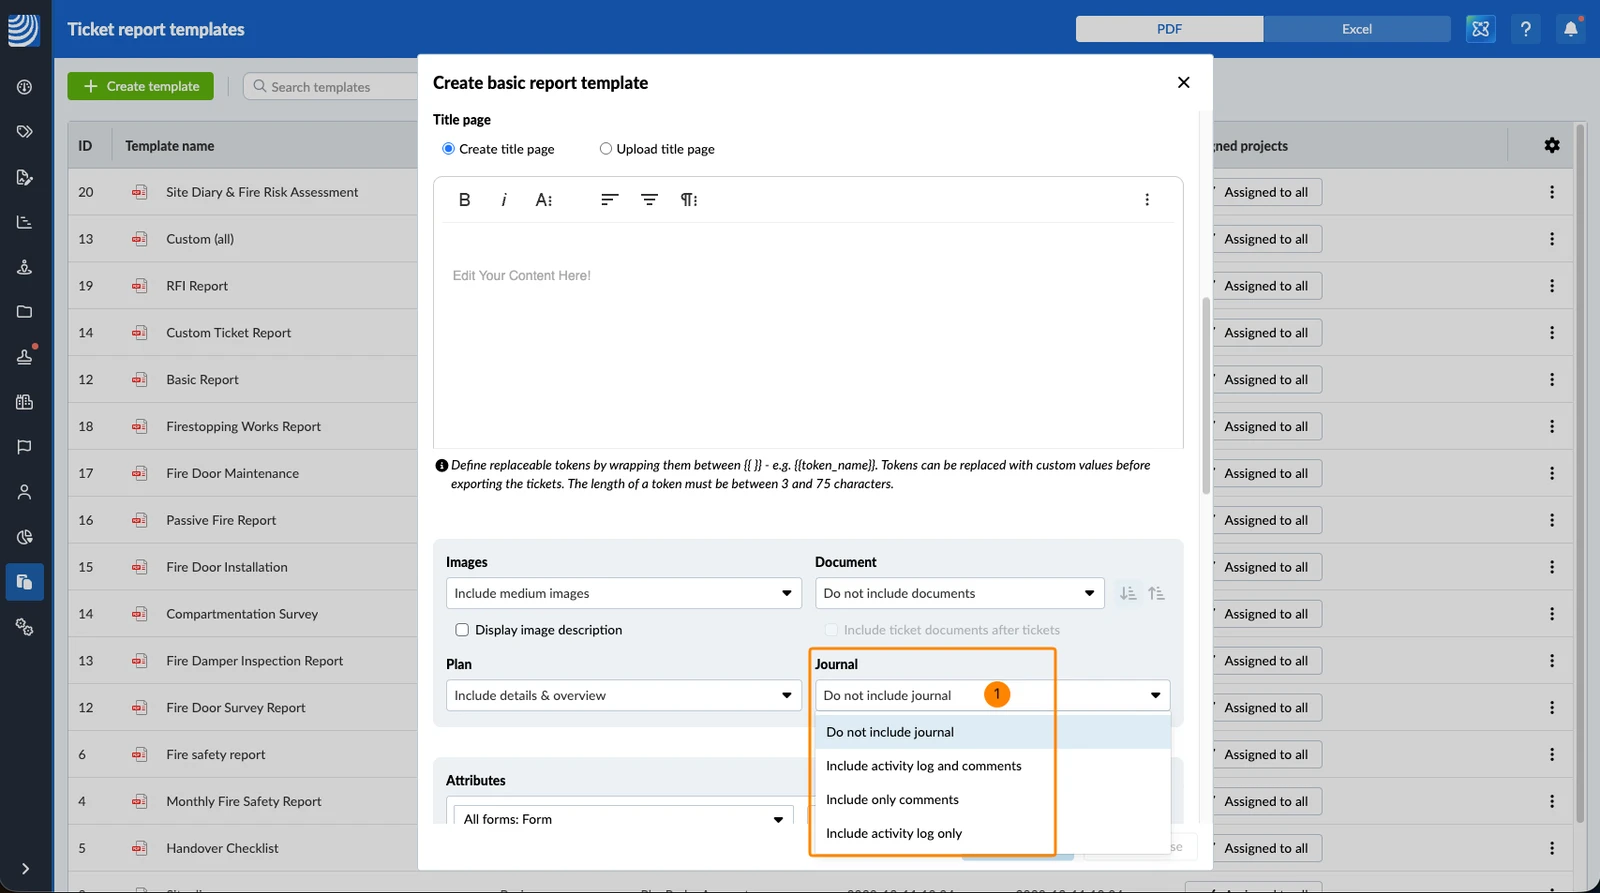
The Journal setting allows to show journal entries under each ticket.
By default, Do not include journal is selected. To change that:
- Select Include activity log and comments OR Include only comments OR Include activity log only
Attributes
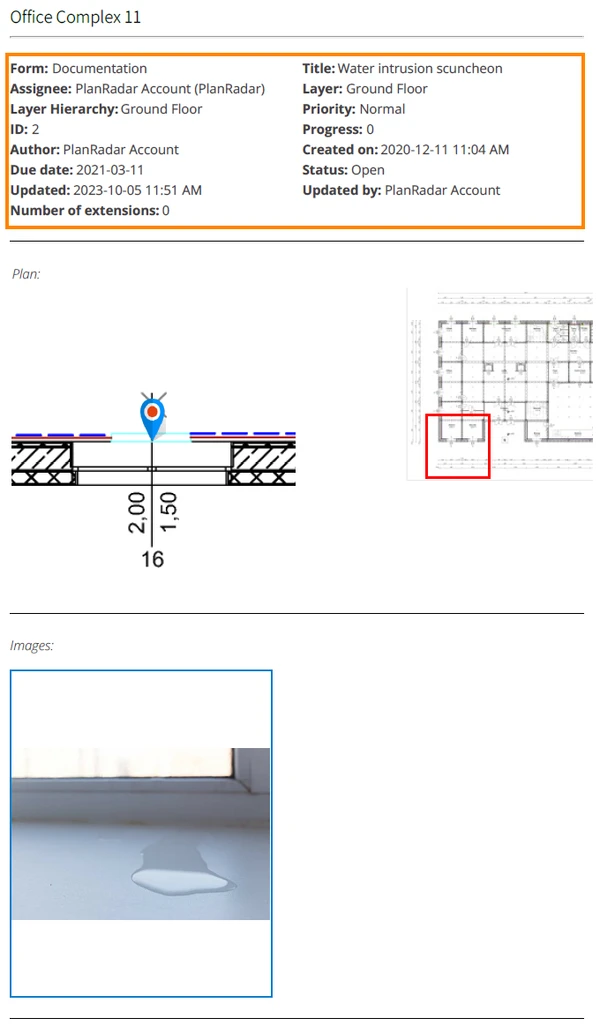
By default, the attributes include the default ticket form fields and related data. It is also possible to add custom ticket form fields, change the order or set alternative titles.
Example of attributes in a ticket report:
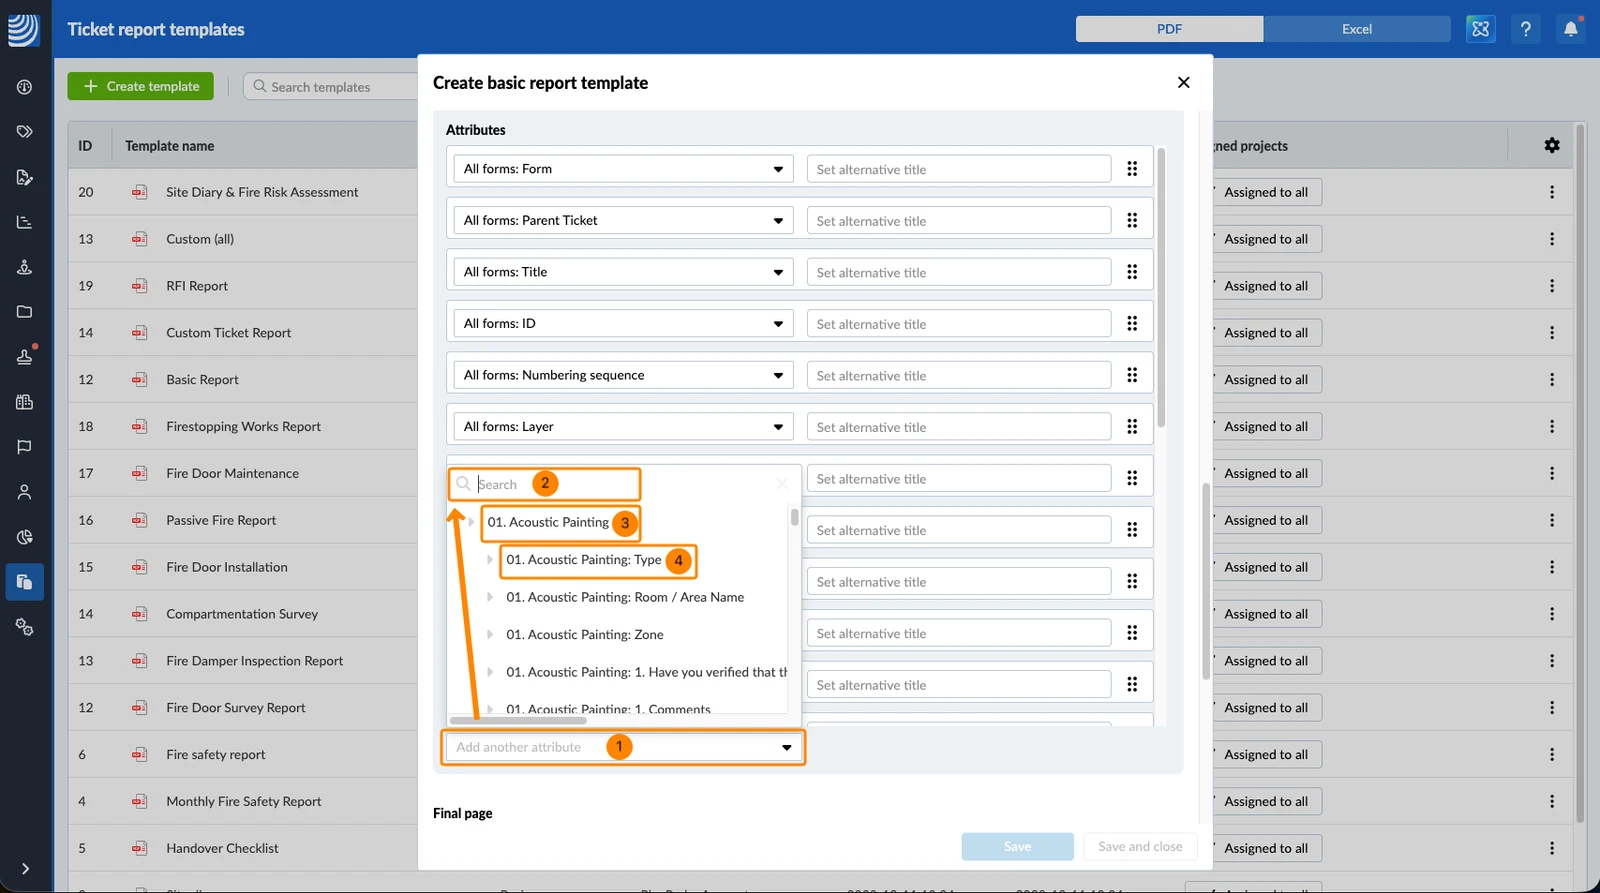
To add another attribute:
- Open the Add another attribute drop-down
- Optional: Search for a field
- Select an form e.g. 01. Acoustic Painting to add all of its fields at once.
- OR select a field e.g. 01. Acoustic Painting: Type
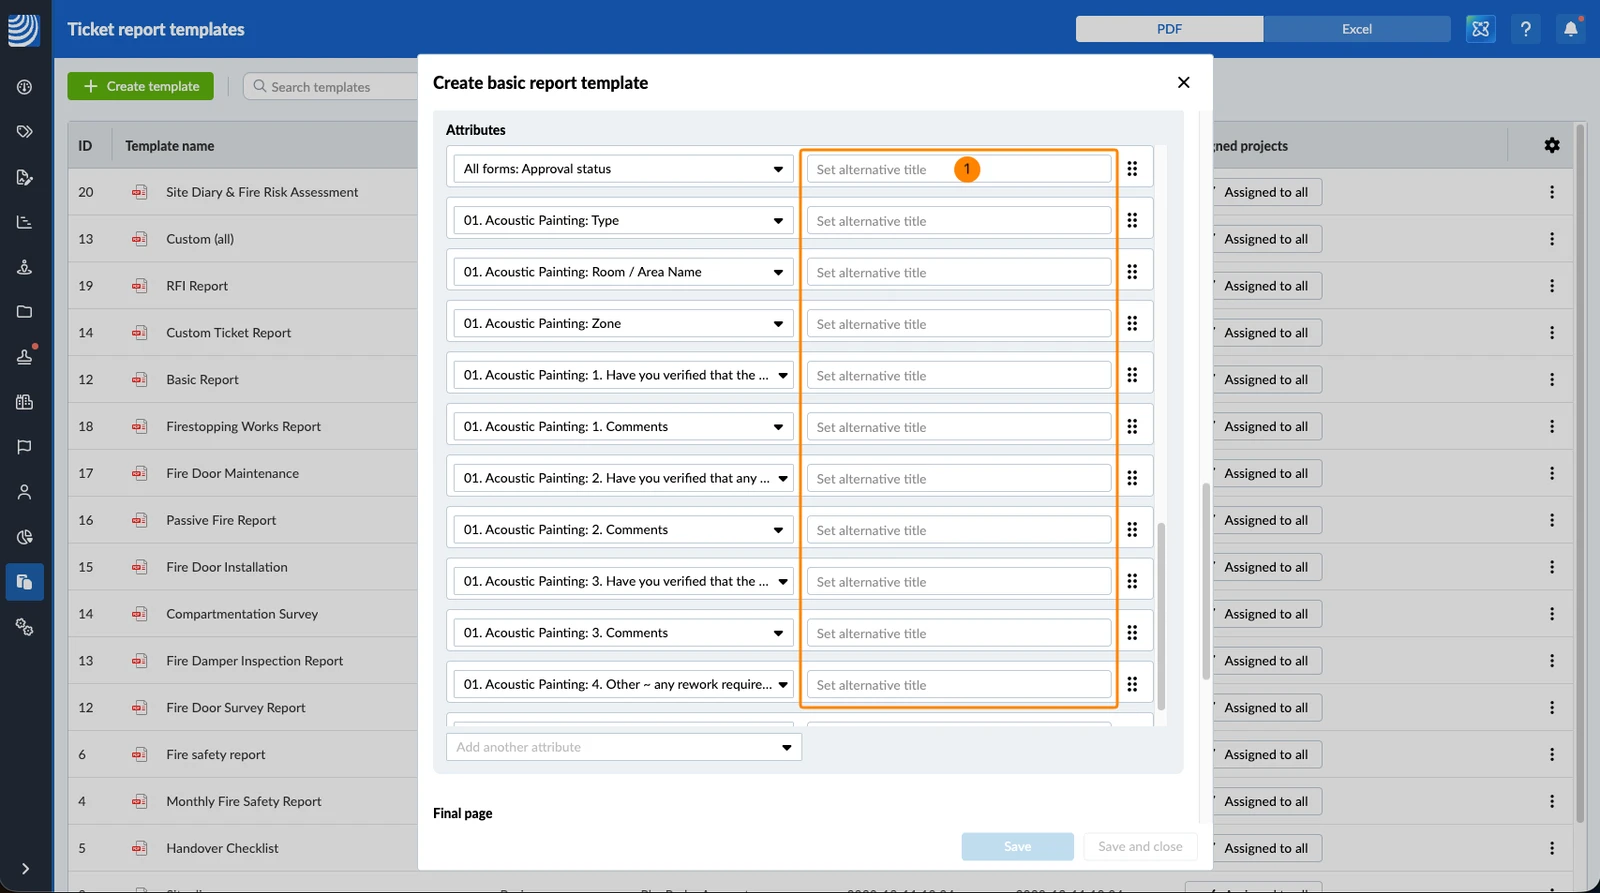
To set an alternative title:
- Click Set alternative title next to the desired attribute and enter a title
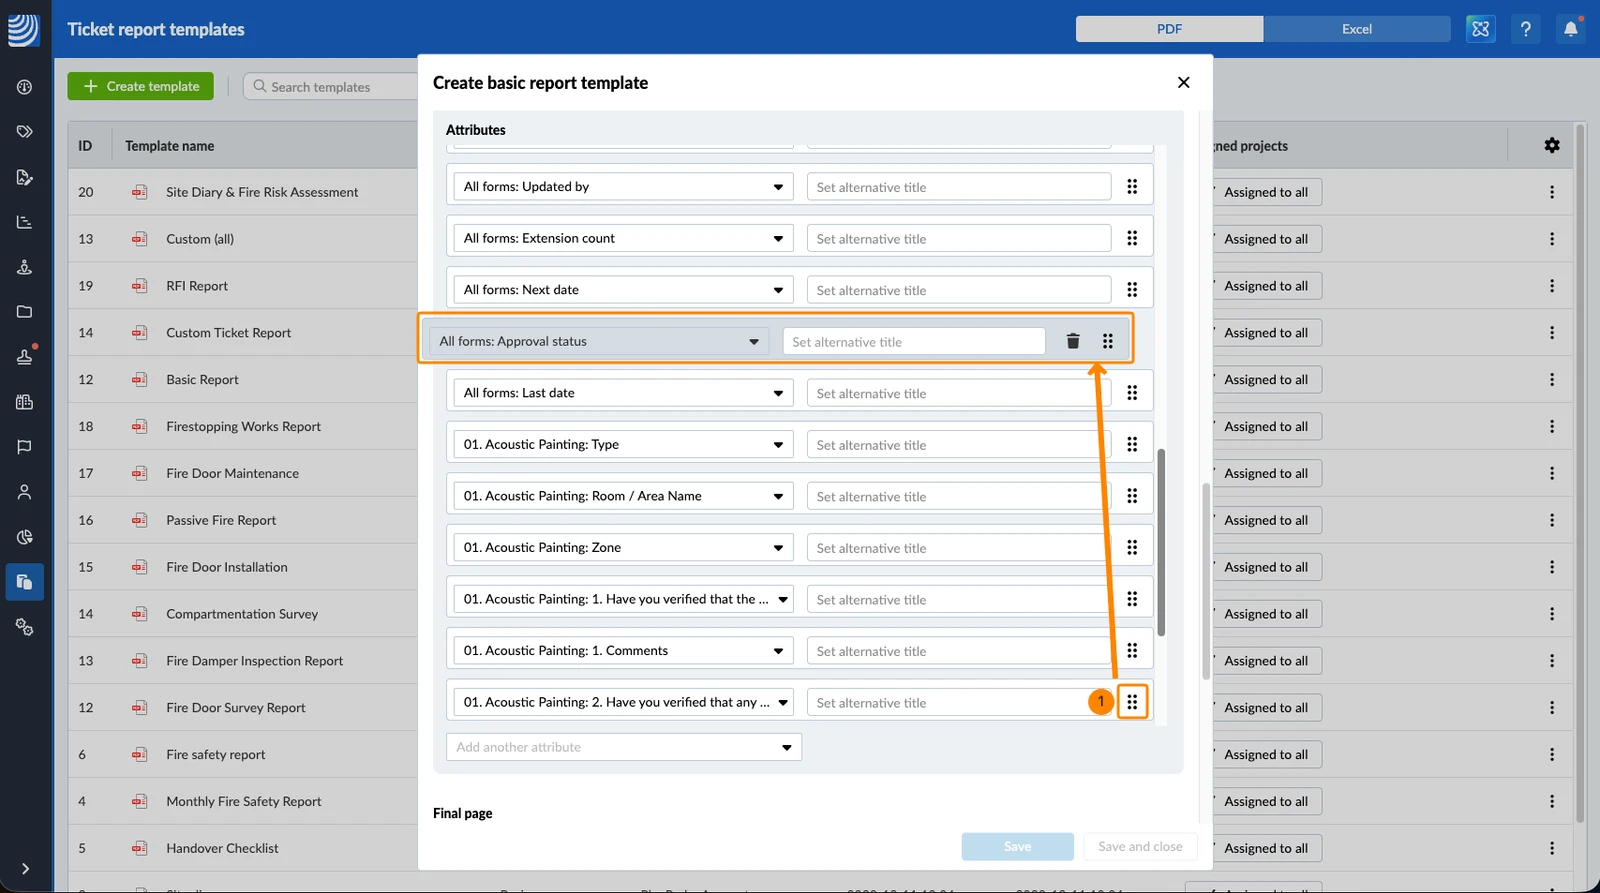
To change the order of attributes:
- Hover over the sorting icon and use drag & drop
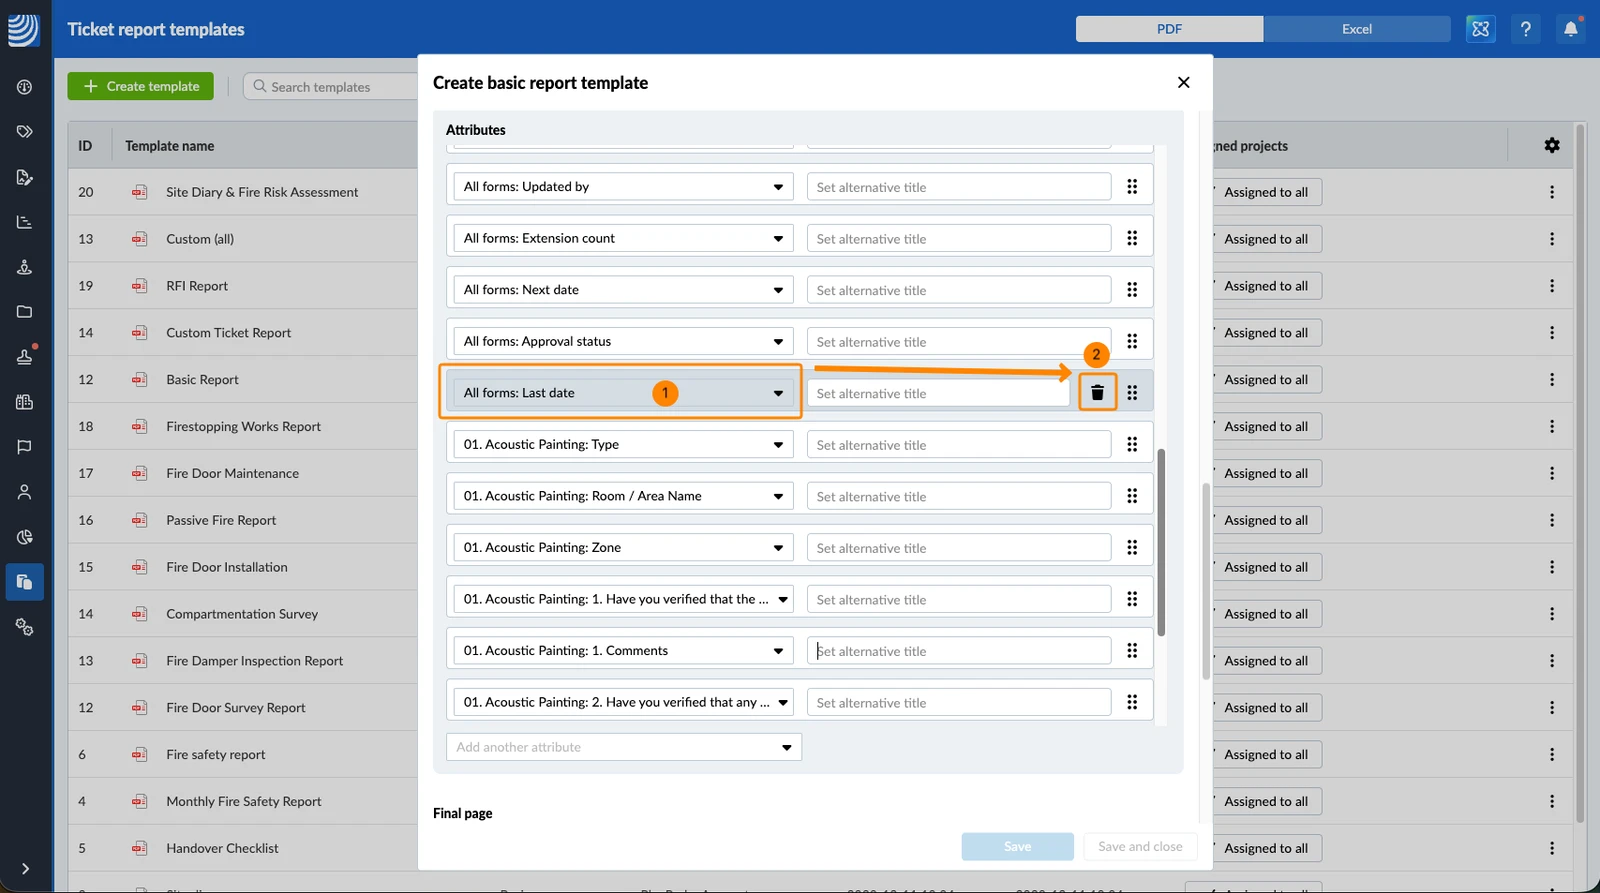
To remove an attribute:
- Hover over the desired attribute
- Click the Delete icon
Final Page
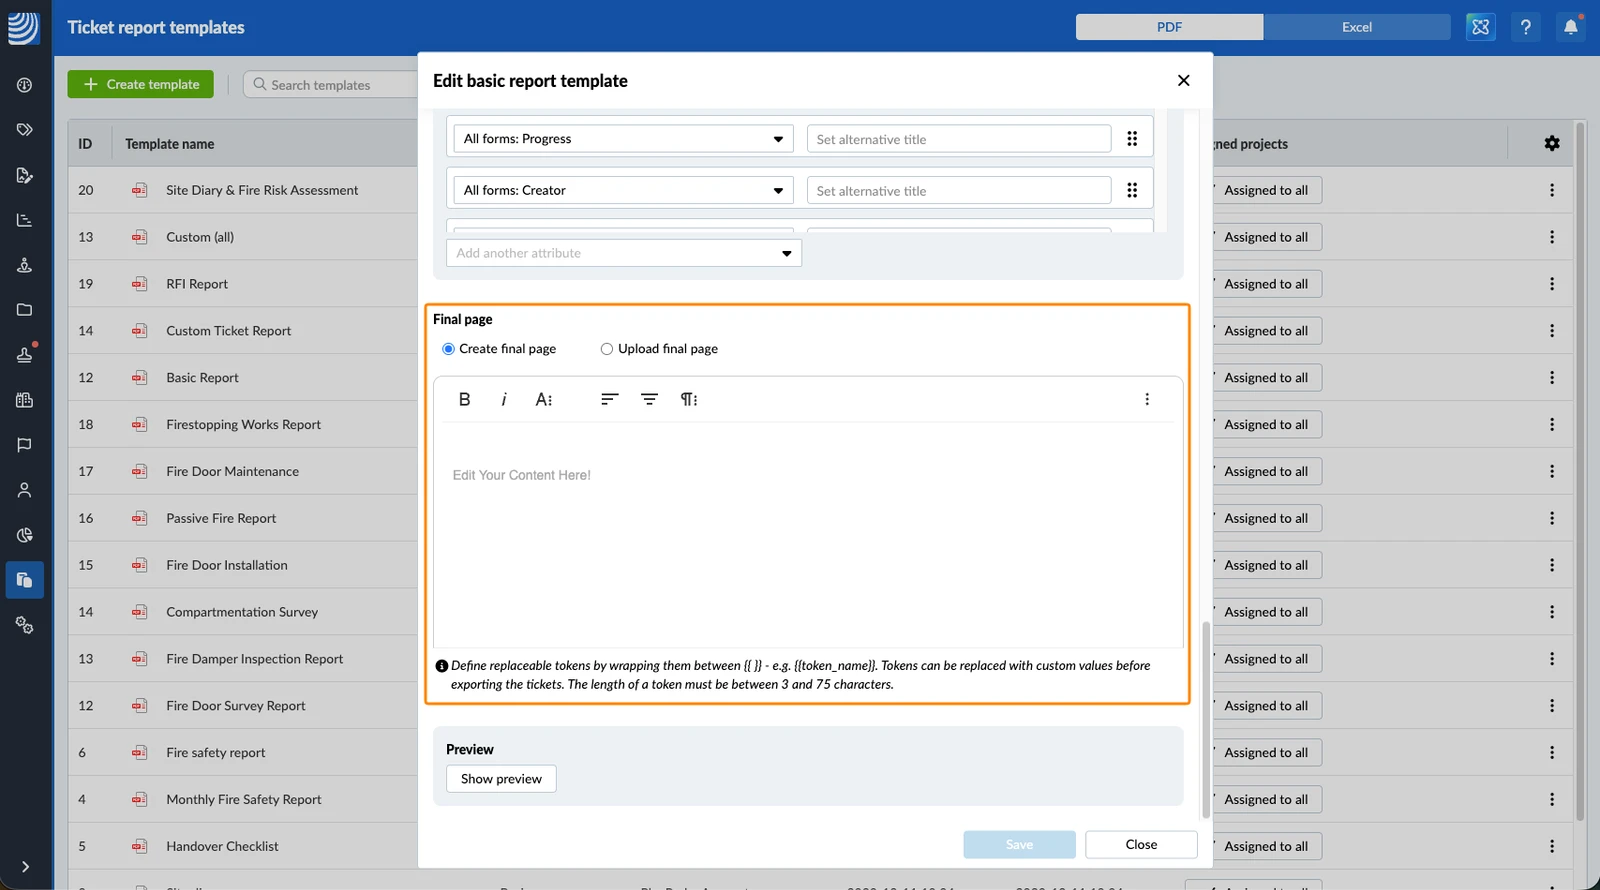
The final page is also optional and works like the Title Page, except that it is placed at the end of the report. It also supports to Add Replacement Tokens to Ticket Reports.
Save a Basic Template
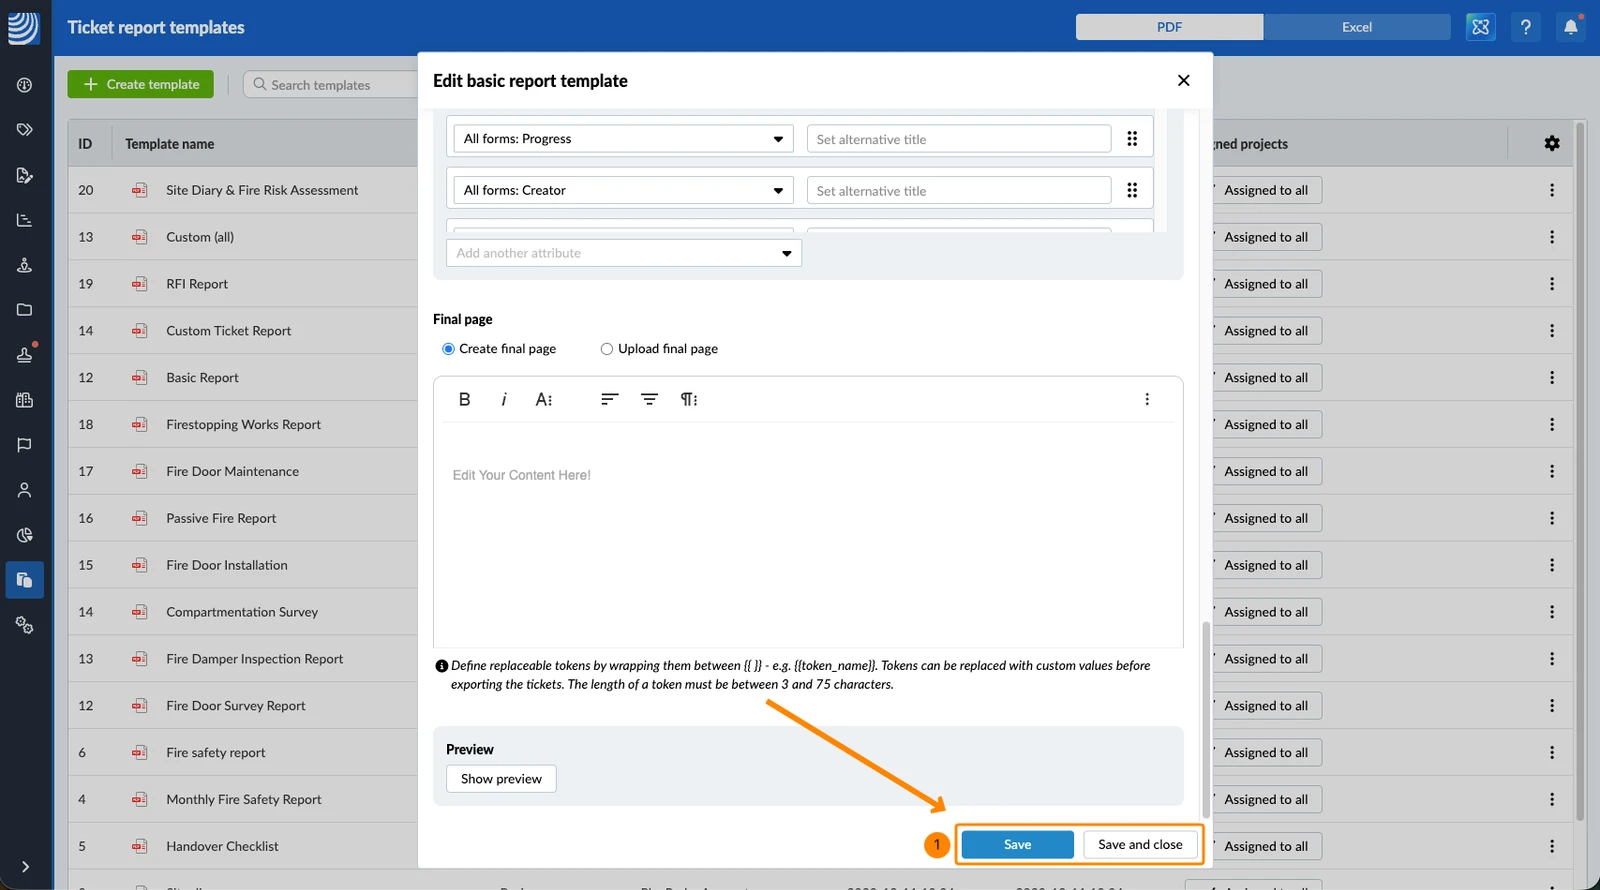
To save a basic ticket report template only the name is mandatory:
- Click Save OR Save and close
Show Preview
To generate a preview of the ticket report PDF (with the newest ticket for example data):
- Click Save
- Scroll down to the bottom of the template.
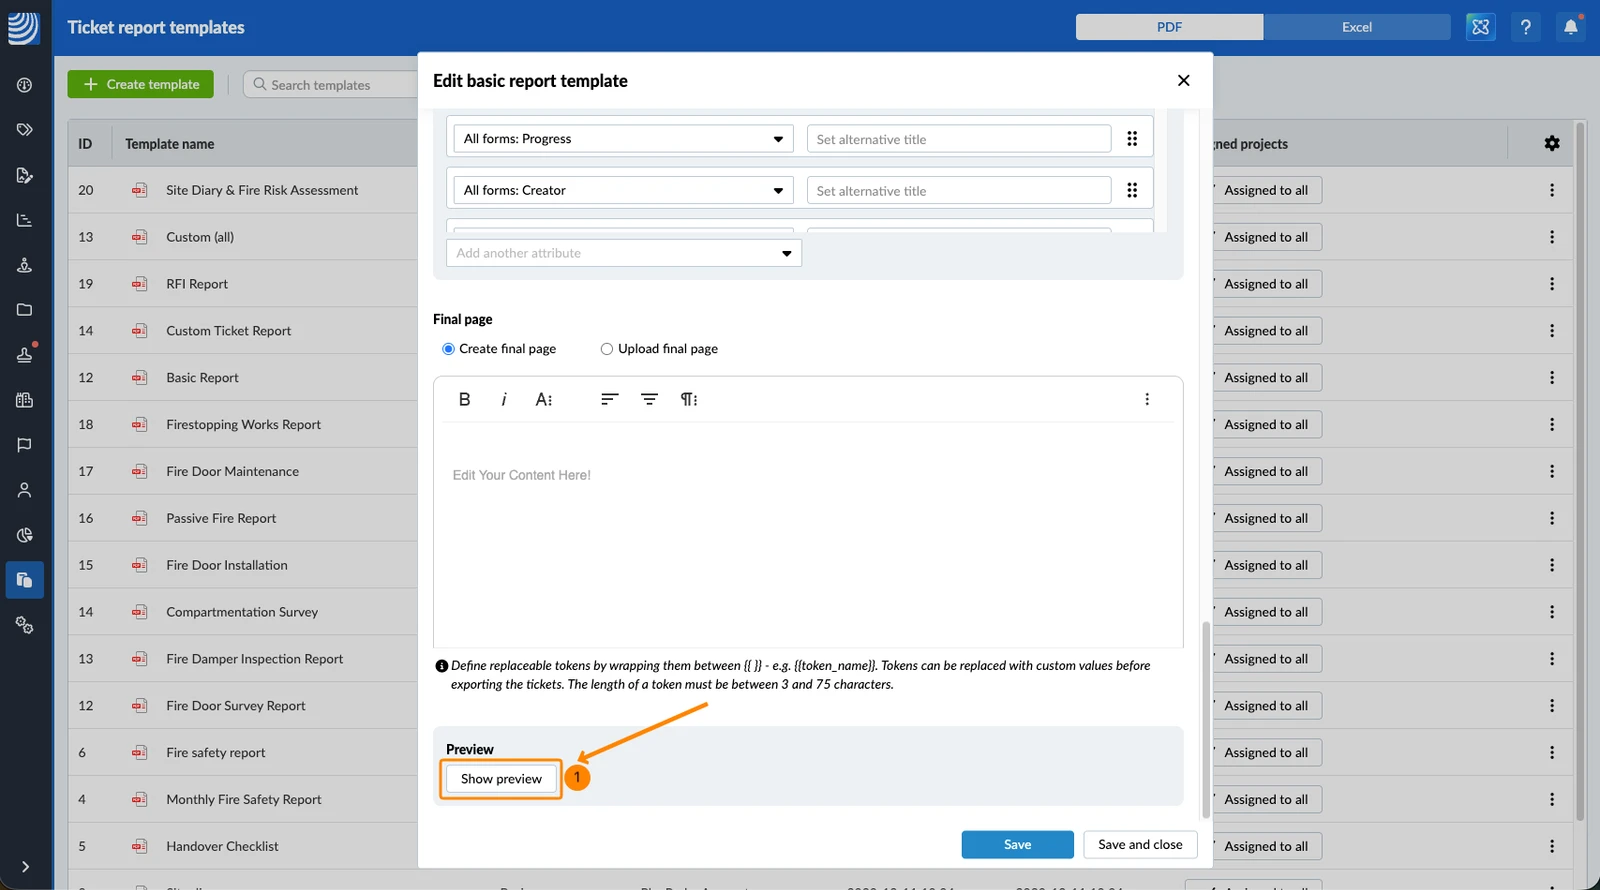
- Click Show preview
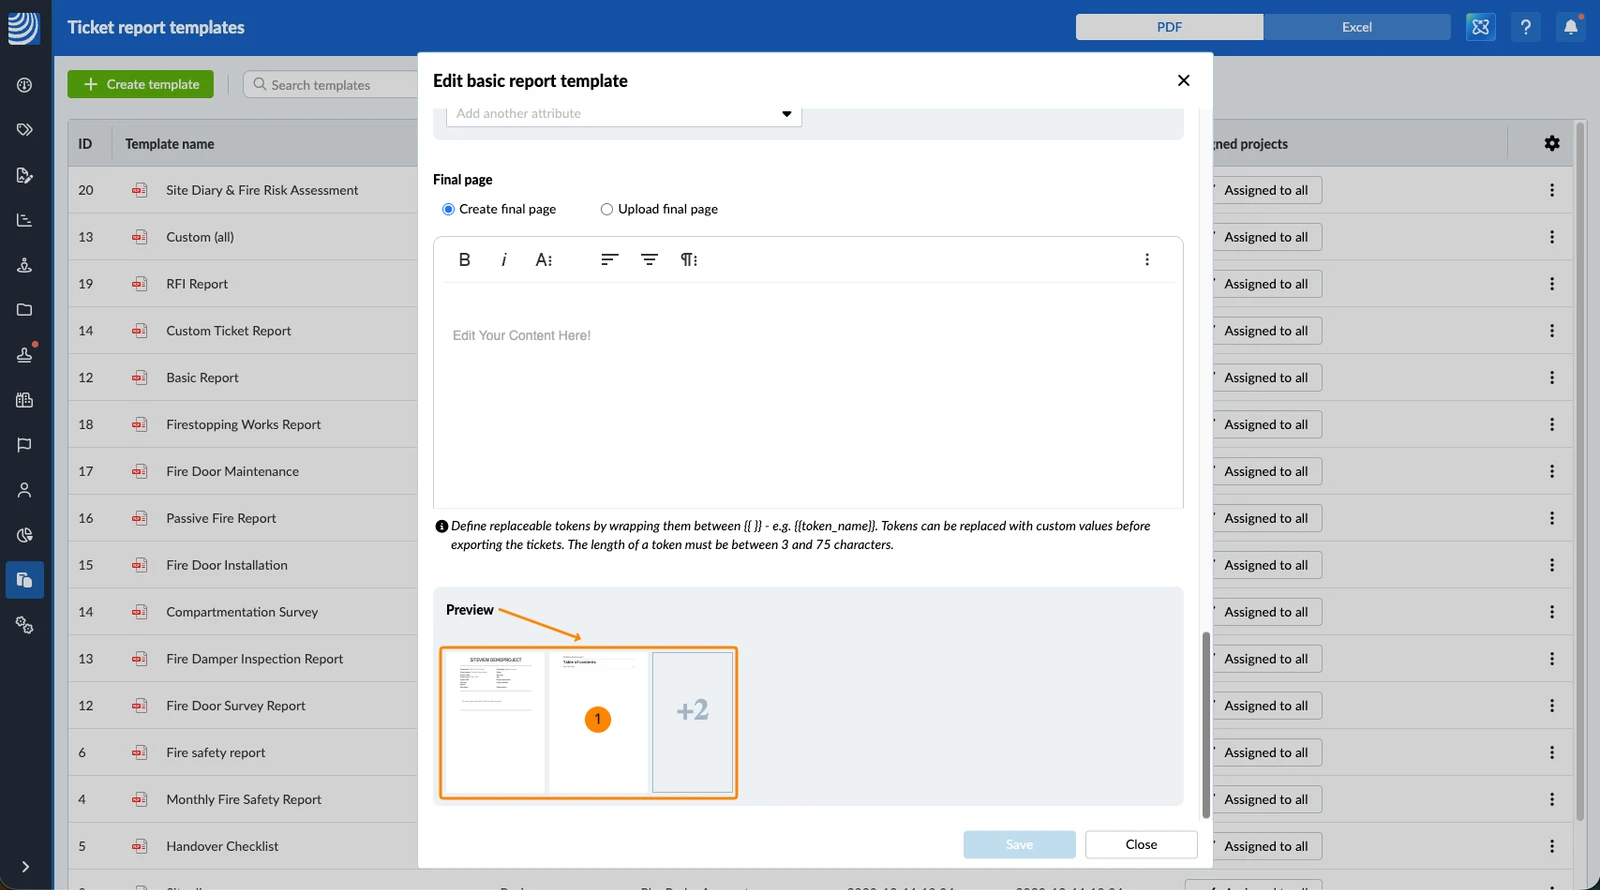
- Wait for the preview to be generated.
- Click on the preview thumbnails to view the PDF.
Edit a Basic Template
To view or edit an existing basic ticket report template:
- Click on the template in the list
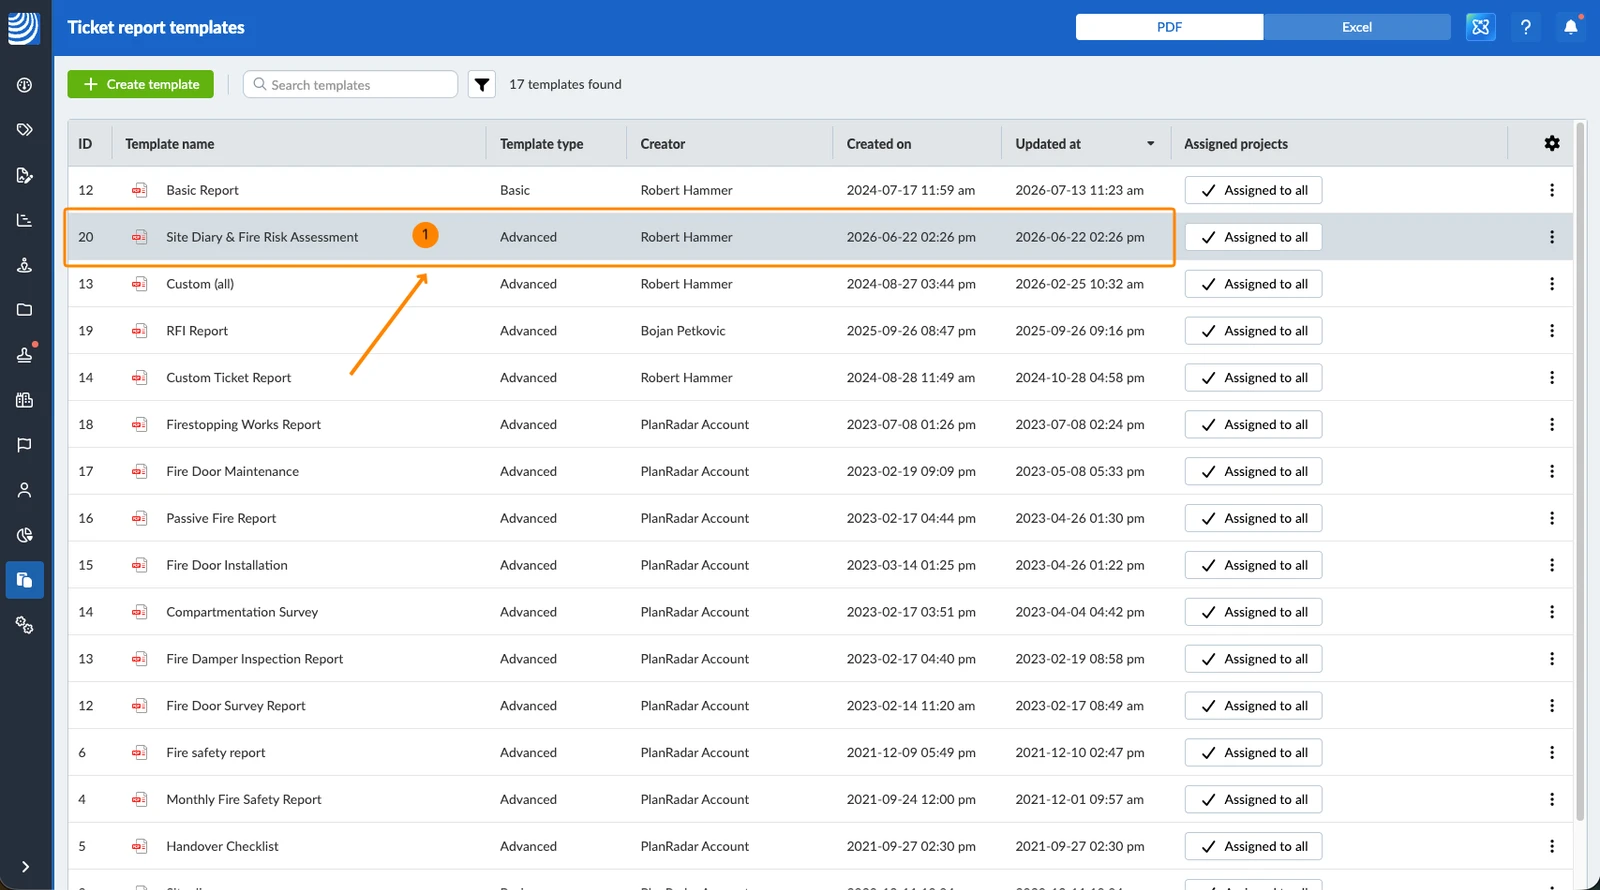
When editing a basic template, you have the same options as described above in Create a Basic Template.
Updated August 12, 2026