

 Deutsch
 Español
 Français
 Hrvatski
 Italiano
 Polski
 Português (BR)
Create & Edit a Project
Overview
Create and edit projects in your PlanRadar account. Read more about Projects.
Instead of creating a project from scratch, you can Use Project Templates or Copy a Project using the web app.
Access & Permissions
How to access Projects
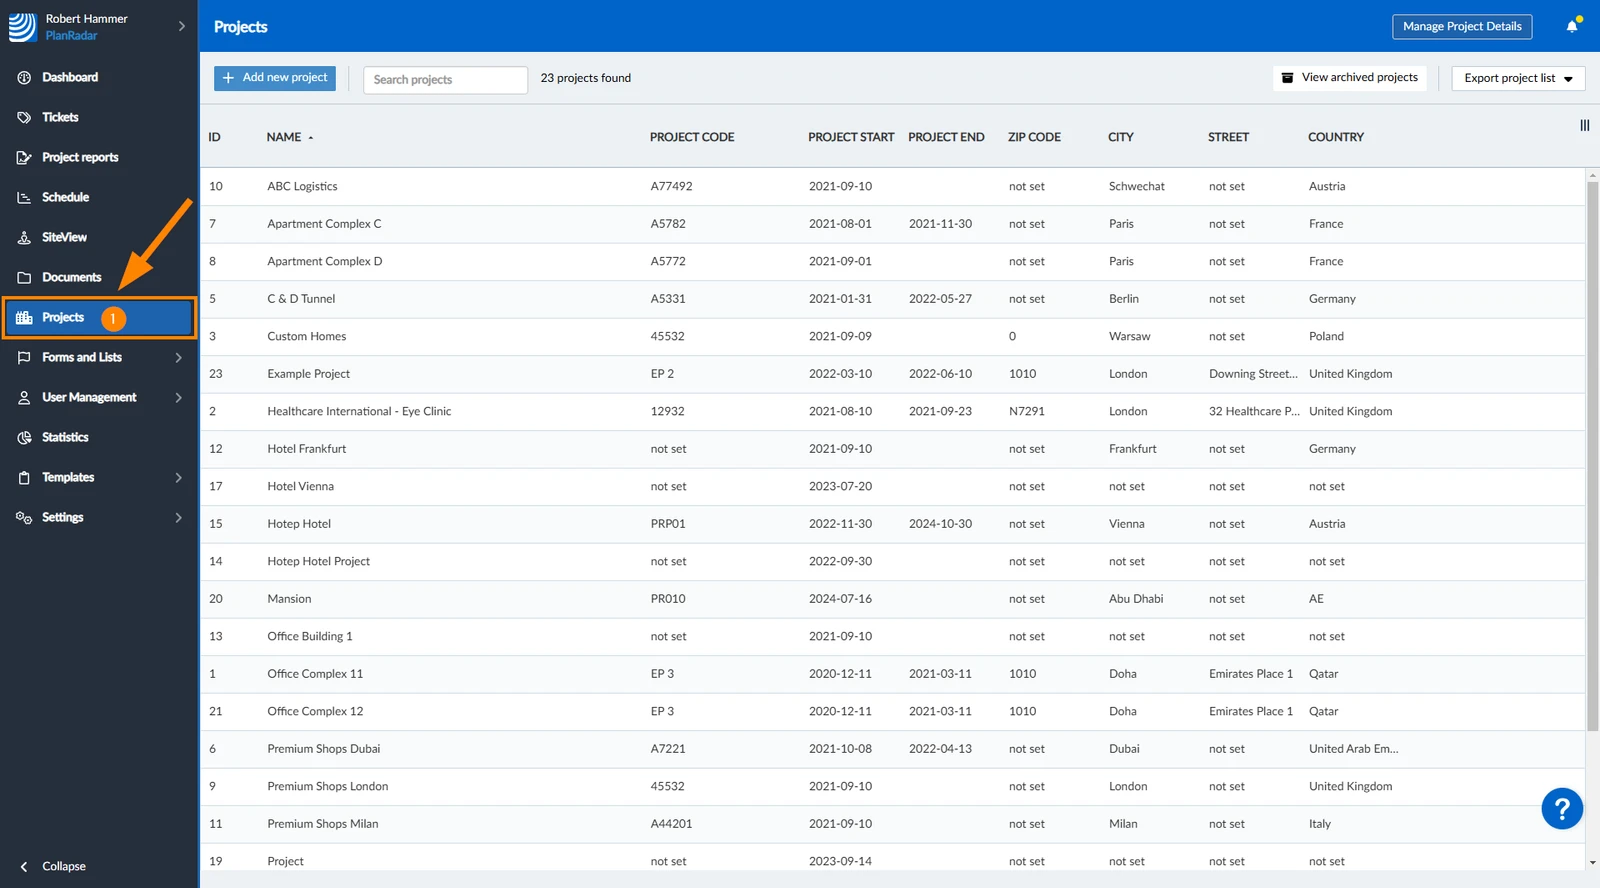
- Click Projects
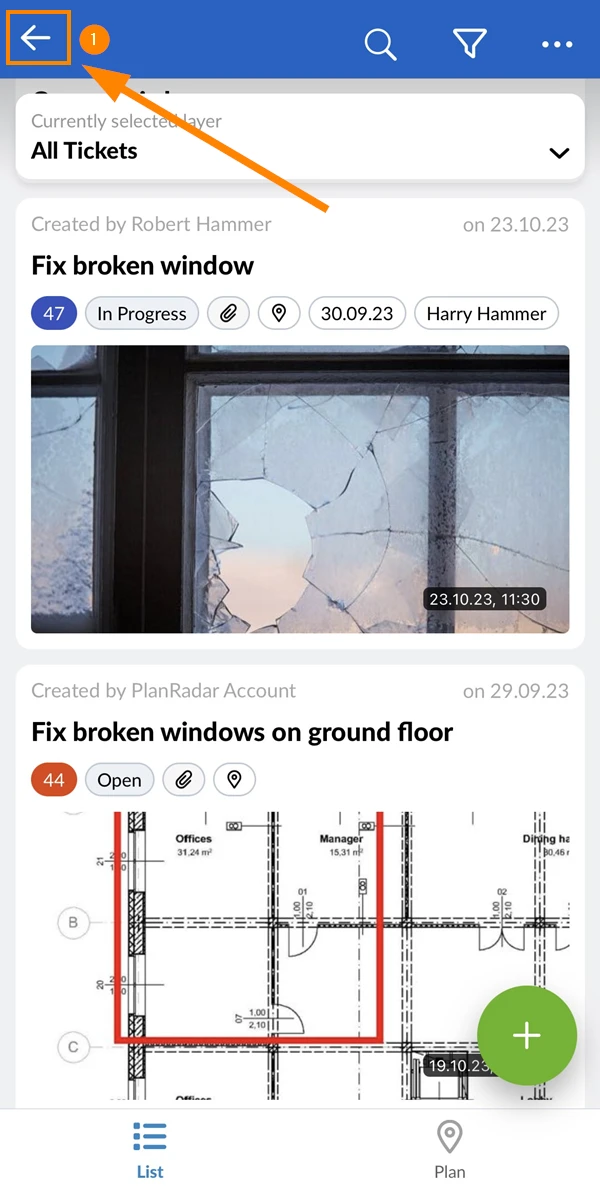
- Tap the Back button
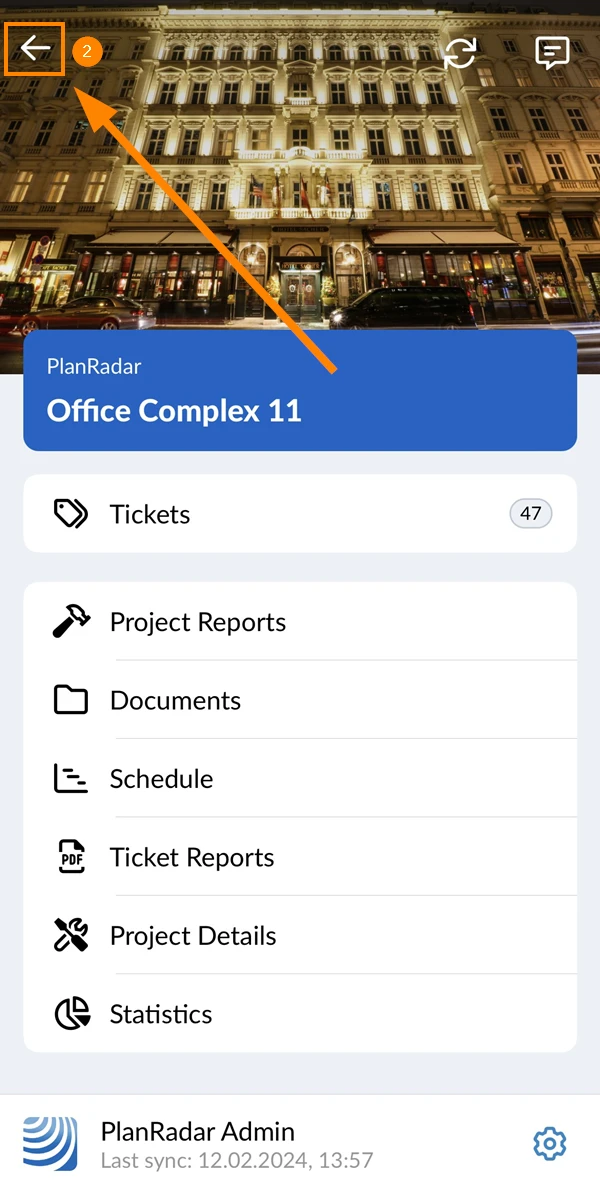
- Tap the Back button
Create a Project
To create a project:
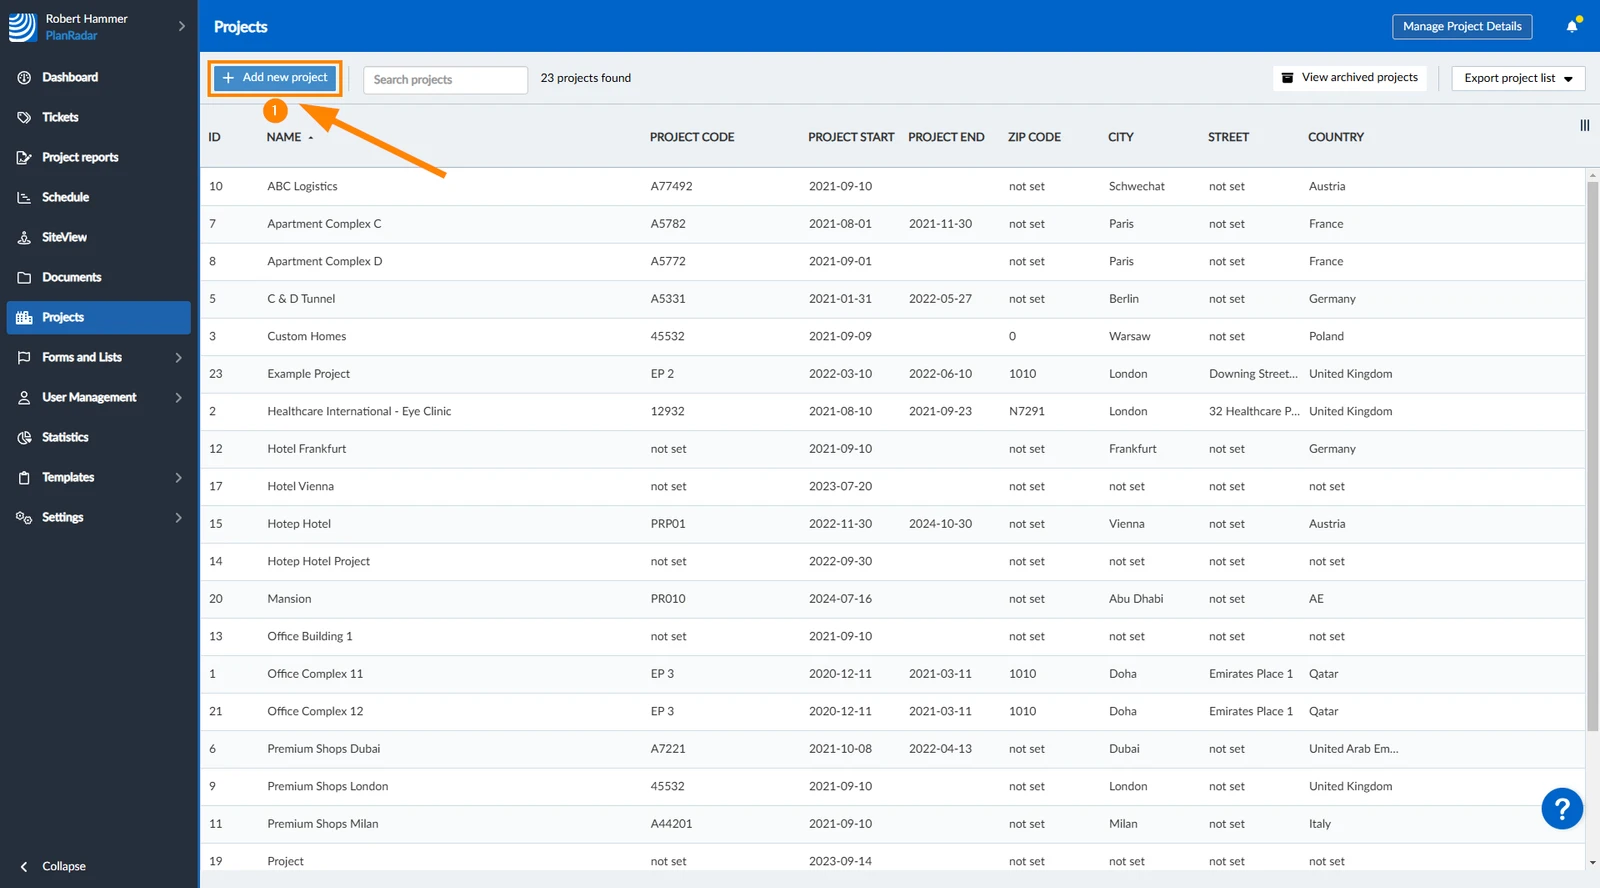
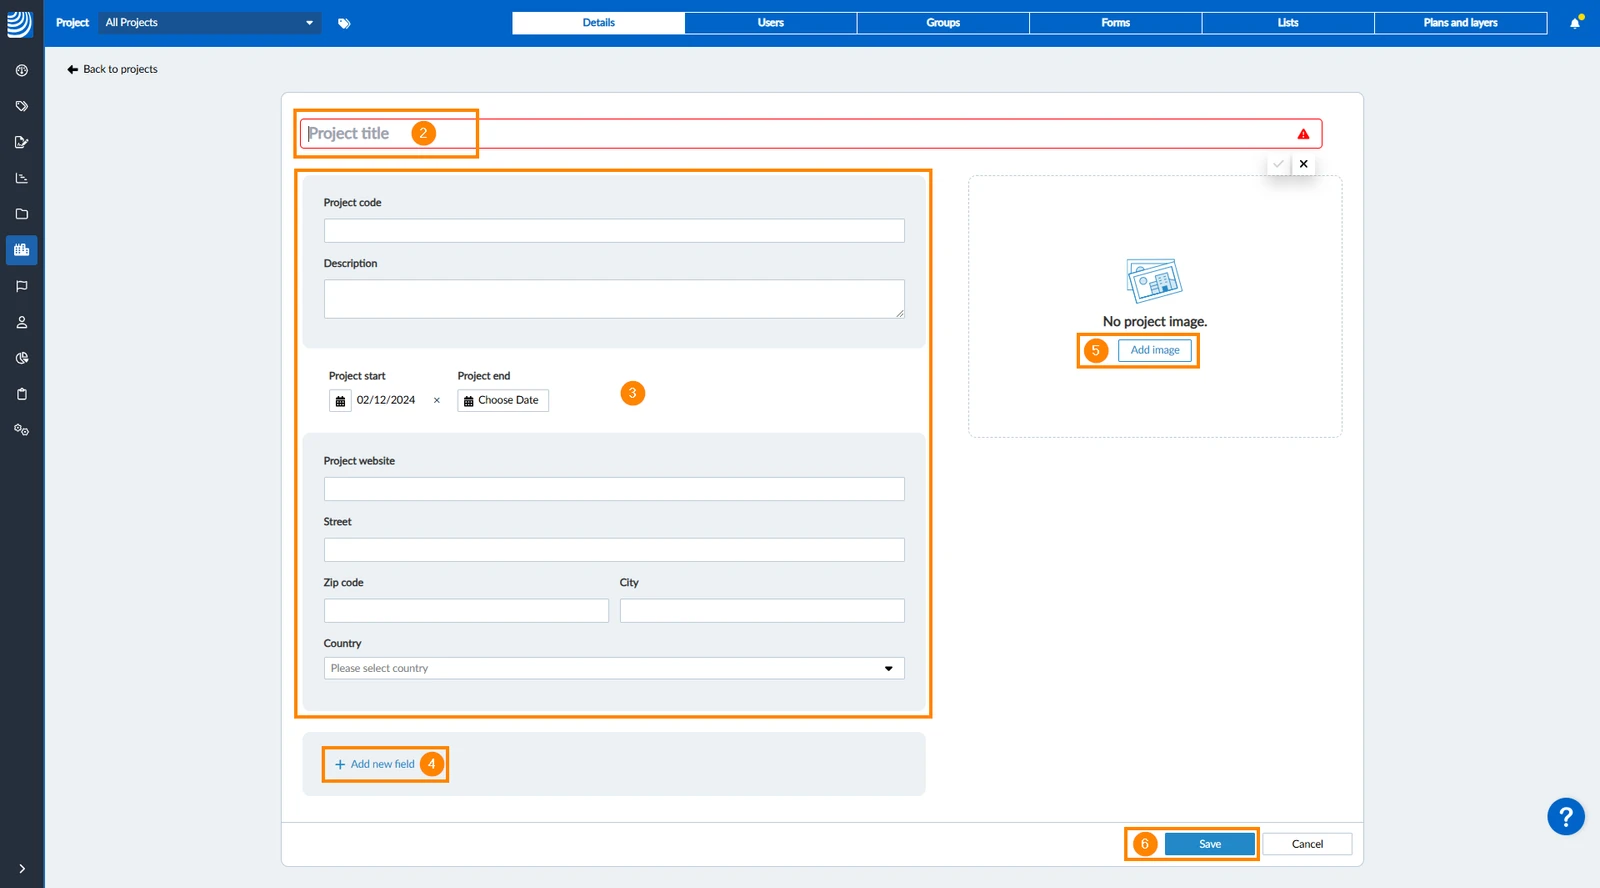
- Click + Add new project
- Enter the project name (mandatory)
- Optional: Enter the default project details including Project code, Description, Start and End dates, Website and address.
- Optional: Click + Add new field to add custom fields as explained in Customise Project Details.
- Optional: Click Add image to add a project image.
- Click Save
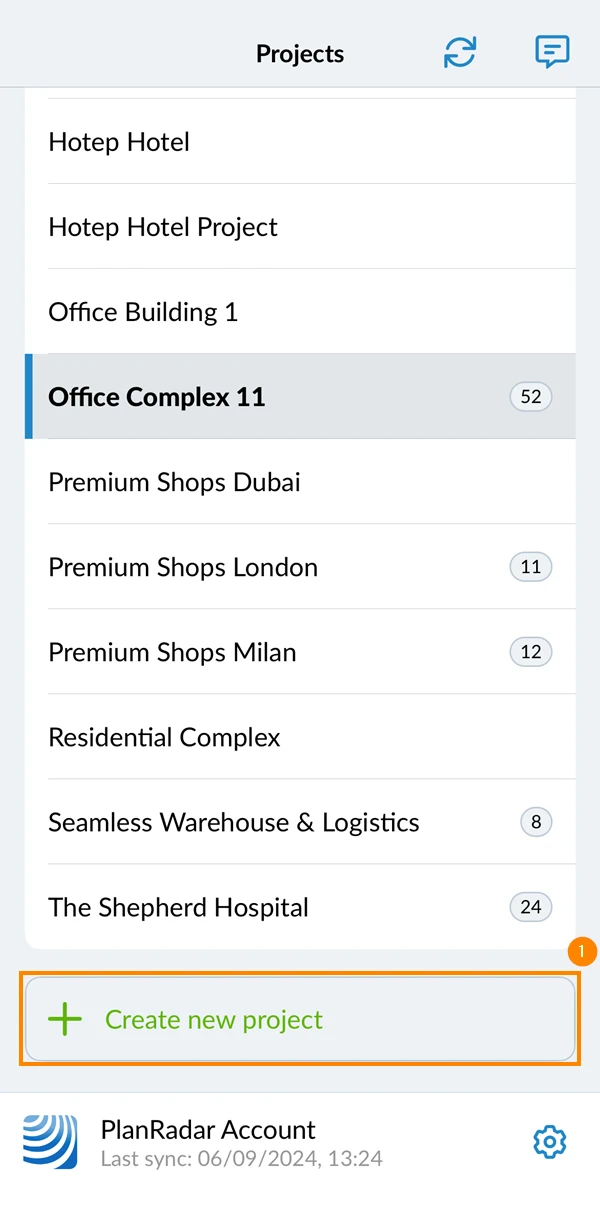
- Tap Create new project
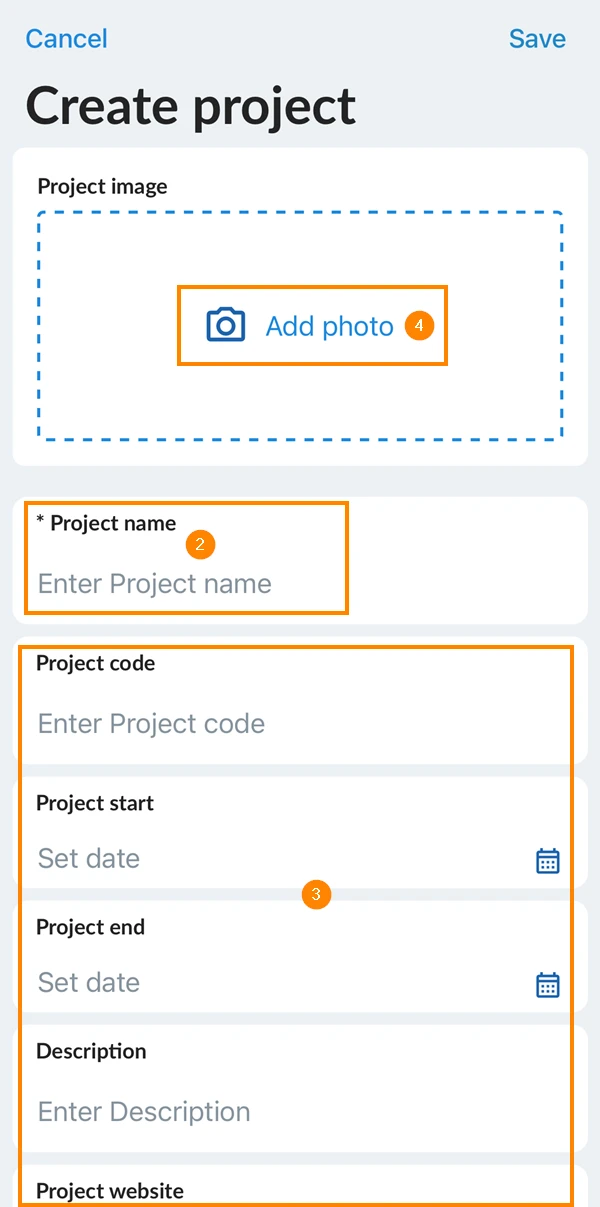
- Enter the project name (mandatory)
- Optional: Enter the default project details including Project code, Description, Start and End dates, Website and address.
- Optional: Tap Add photo add a project image
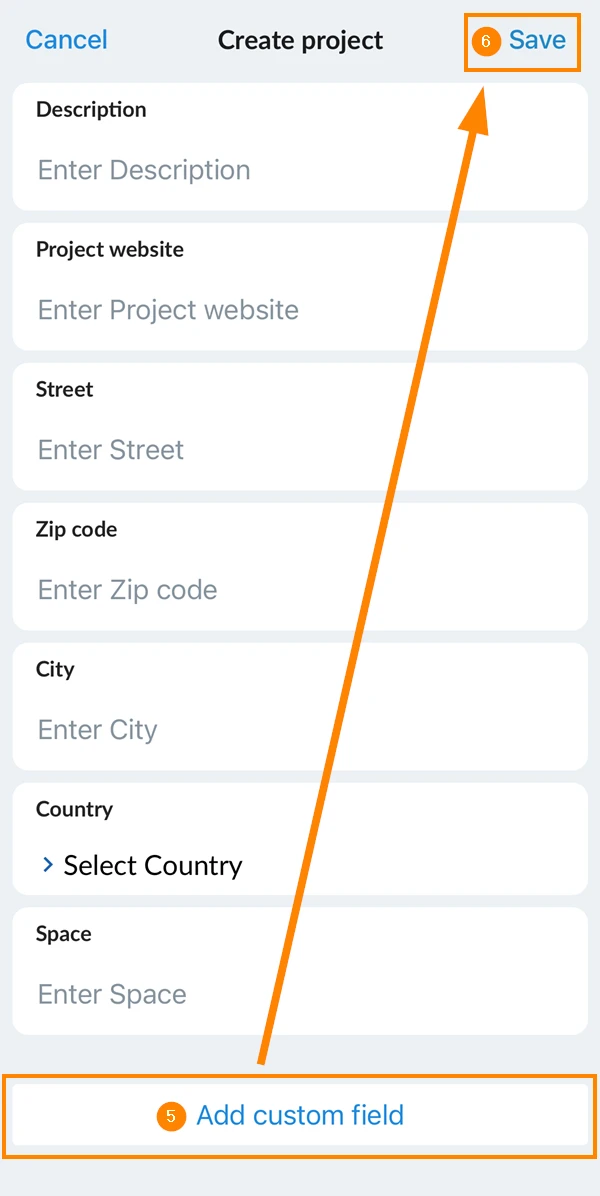
- Optional: Tap Add custom field as explained in Customise Project Details.
- Tap Save
Edit a Project
To start working and creating tickets you need a project with at least:
- a user (to assign the tickets to)
- a form (where ticket fields are defined)
- a location for the tickets: at least one folder (with or without a plan)
Manage Project Users & Groups
You can add users and user groups to the project to grant them access and manage what in-house users can view or edit by assigning the appropriate user role.
Manage Project Forms
Add forms to your project to be able to create tickets.
Set Up Project Plans & Folders
A project's plans live in the Plans section. Folders give the project its structure and hold as many plans and BIM models as you need — and every ticket is saved to one of them.
Manage Project Details
You can edit the project name, code, address, website, and more.
Configure Working Days
Configure workdays of the week and add public holidays for a project to get more realistic calculations for schedules and approval requests.
Updated September 3, 2026