

 Deutsch
 Español
 Français
 Hrvatski
 Italiano
 Polski
 Português (BR)
Upload Plans in the Webapp
Overview
You can upload many plans at once, or a whole folder tree from your computer, and check every file before it goes in. Everything you upload lands in the folder you have selected in the Plans section.
The uploader opens from Add new item in the toolbar, where you choose between Upload plans, Upload folder and your connected cloud storage. You can also drag files straight from your computer onto the plan list.
Plans can be PDF files, JPG or PNG images. BIM models are IFC files. Other file types are refused, and PlanRadar tells you which of your files it cannot take.
Access & Permissions
Upload Plans
To upload one or more plans:
- Select the folder the plans should go into.
- Click Add new item.
- Click Upload plans.
- Select the files on your computer.
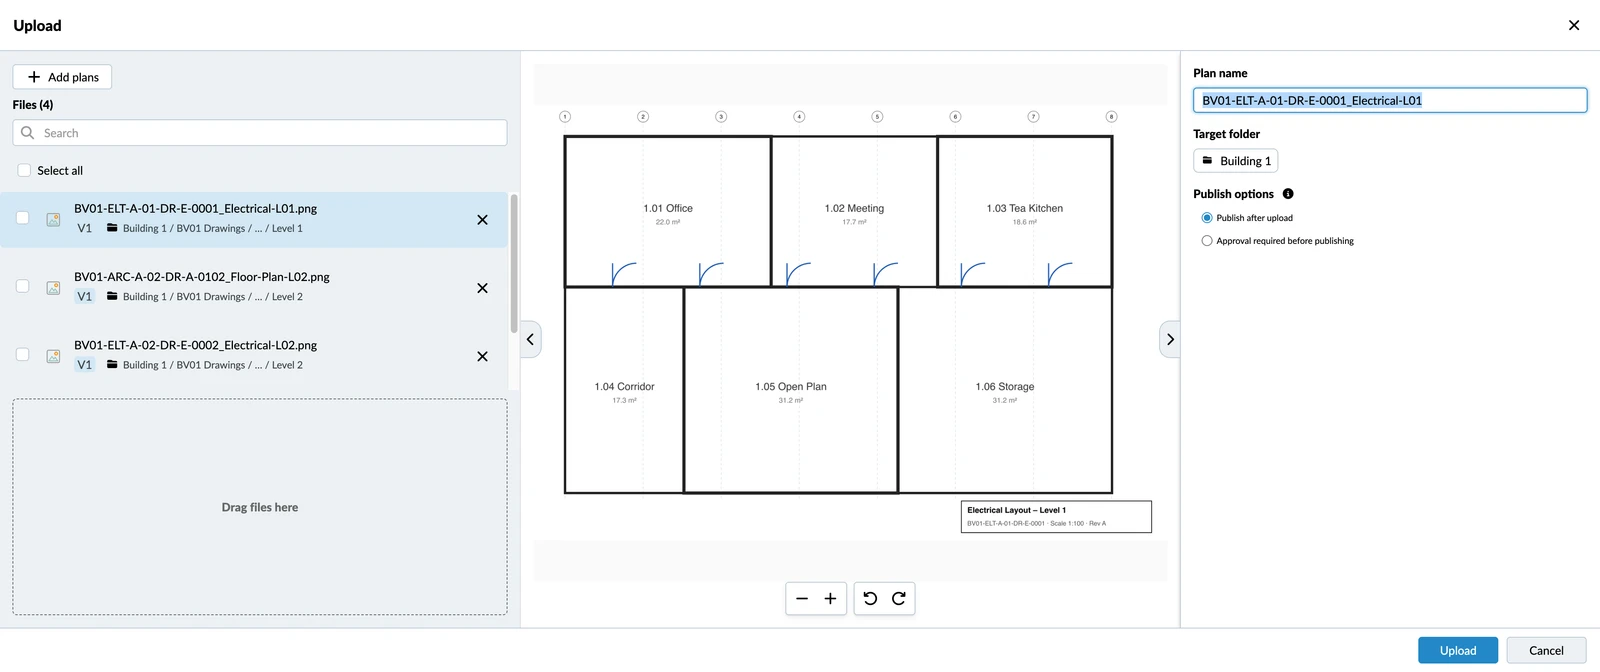
- Check the files and adjust them if needed, as described in Check and Adjust Files Before Uploading.
- Click Upload.
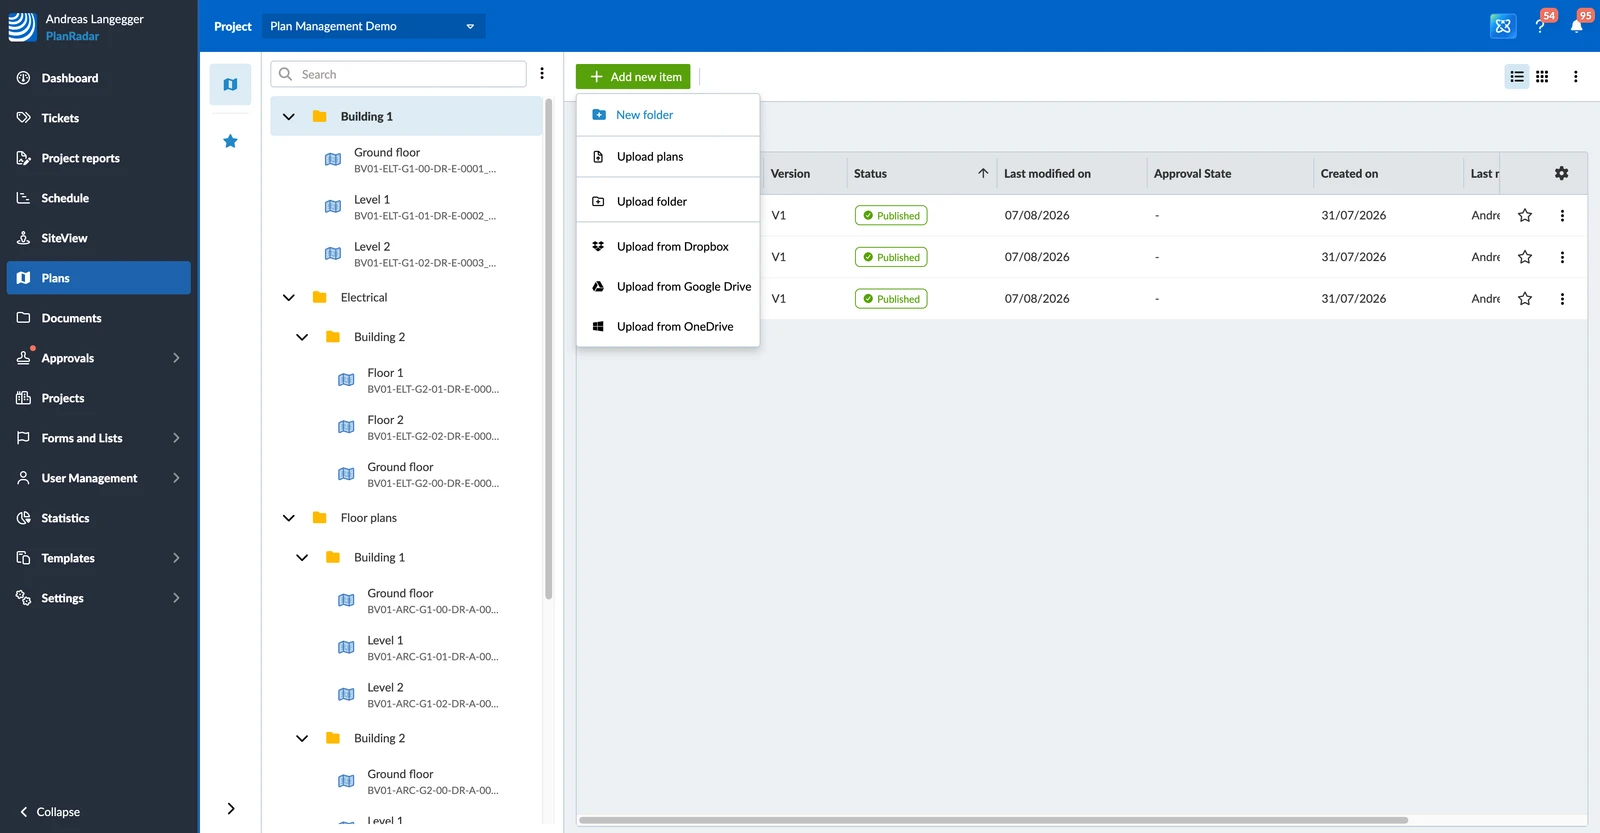
To add more files while the uploader is open, click Add plans.
Upload a Folder
You can hand PlanRadar a folder from your computer and let it rebuild the structure for you.
To upload a folder:
- Select the folder it should be created under.
- Click Add new item.
- Click Upload folder.
- Select the folder on your computer.
- Click Upload.
The folder structure is recreated exactly as it is on your computer, and the files are listed with their path so you can see where each one will end up. Folders that contain no files are not created.
Upload From Cloud Storage
If your team keeps plans in Dropbox, Google Drive or OneDrive, you can take them from there instead of downloading them first.
To upload from cloud storage:
- Select the folder the plans should go into.
- Click Add new item.
- Click Upload from Dropbox, Upload from Google Drive or Upload from OneDrive.
- Sign in to the service and select the files.
- Click Upload.
Check and Adjust Files Before Uploading
Everything you dropped into the uploader is listed under Files before anything is saved, so you can correct it first.
Click a file to see a preview you can zoom and pan. Files up to 10 MB open automatically; for larger ones click load preview. IFC files have no preview.
For each file you can:
- Rotate the plan with Rotate Left and Rotate right.
- Change its name in the Plan name field. Names carry no file extension — the original filename is kept with the version.
- Change the folder it goes into, and create a new folder for it on the spot.
- Remove it from the list with the x next to it.
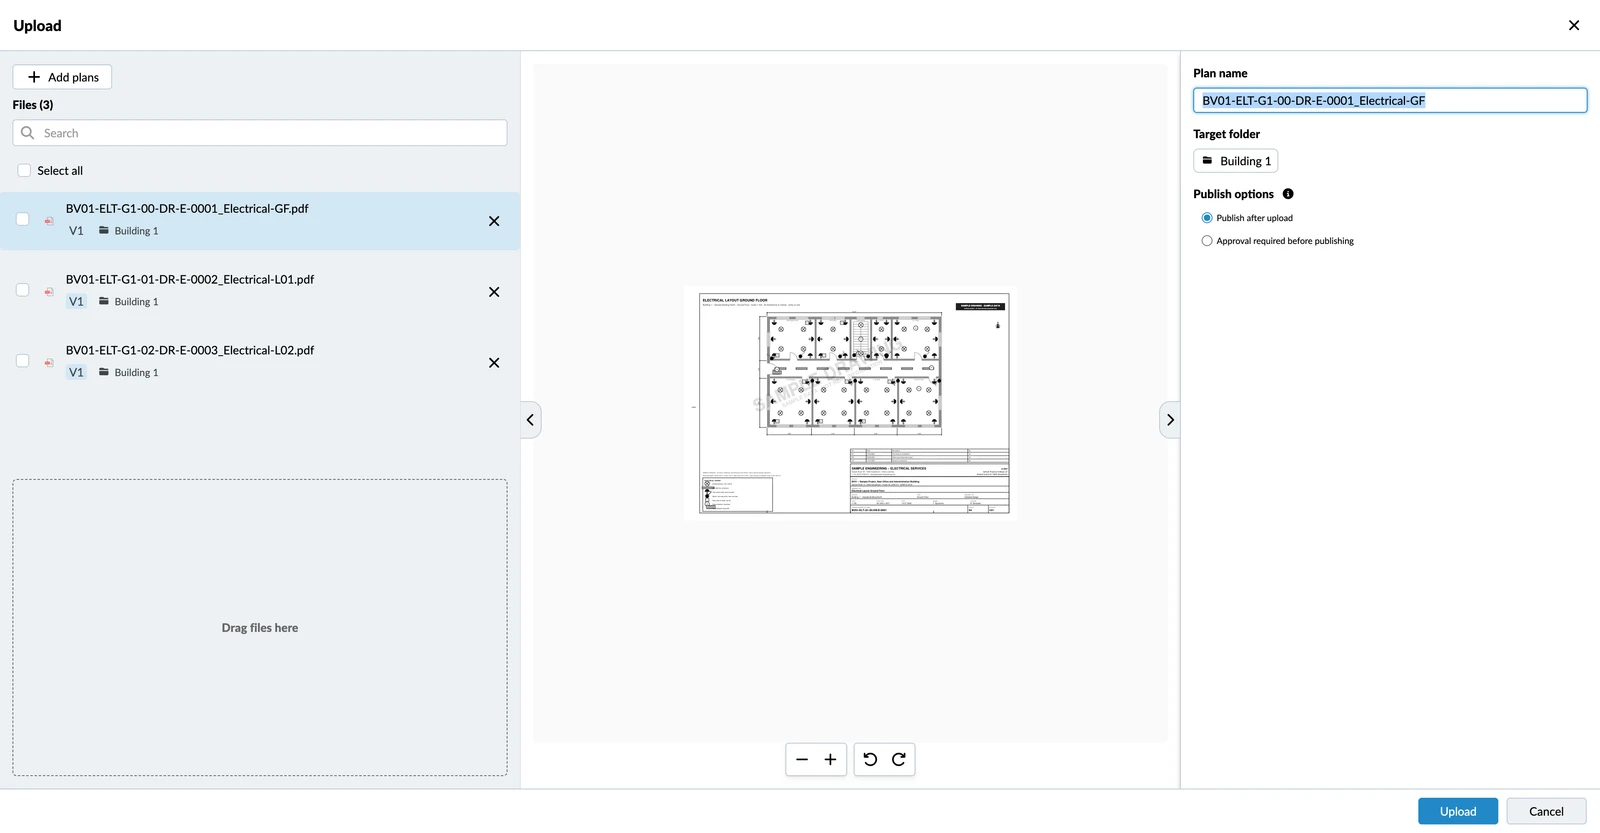
To adjust several files together, select their checkboxes and use the bulk menu in the top right: Set target folder, rotate, Approval required and remove.
Choose Whether Plans Are Published or Approved First
The uploader asks what should happen to the plans once they are processed:
- Publish after upload — the plans go live as soon as they are processed. Your team sees them in Tickets, in SiteView and on mobile.
- Approval required before publishing — the plans wait for a reviewer, and nobody works with them until they are approved.
If a plan has been through approval before, every new version has to be approved too, so the choice is fixed for you. BIM models are always published, because approvals do not apply to them.
What Happens After the Upload
Processing starts on its own and the plans appear in the folder straight away with their state:
- Processing — PlanRadar is preparing the plan for the plan viewer.
- Repositioning required — a new version needs its ticket pins checked.
- Processing failed — the file could not be prepared. Upload it again, or contact Support.
Once a plan is processed and published, your team can place tickets on it.
Updated September 3, 2026