

 Deutsch
 Español
 Français
 Hrvatski
 Italiano
 Polski
 Português (BR)
Tickets Map View
Overview
Use the tickets map view to see where tickets are located geographically. Every ticket with a GPS position is shown as a pin on a map.
Tickets without a GPS position are not shown on the map. To add one, read Add GPS Position to Tickets in the Mobile App.
Access & Permissions
How to Access Tickets Map View
- Click Tickets
- In the View drop-down select Map
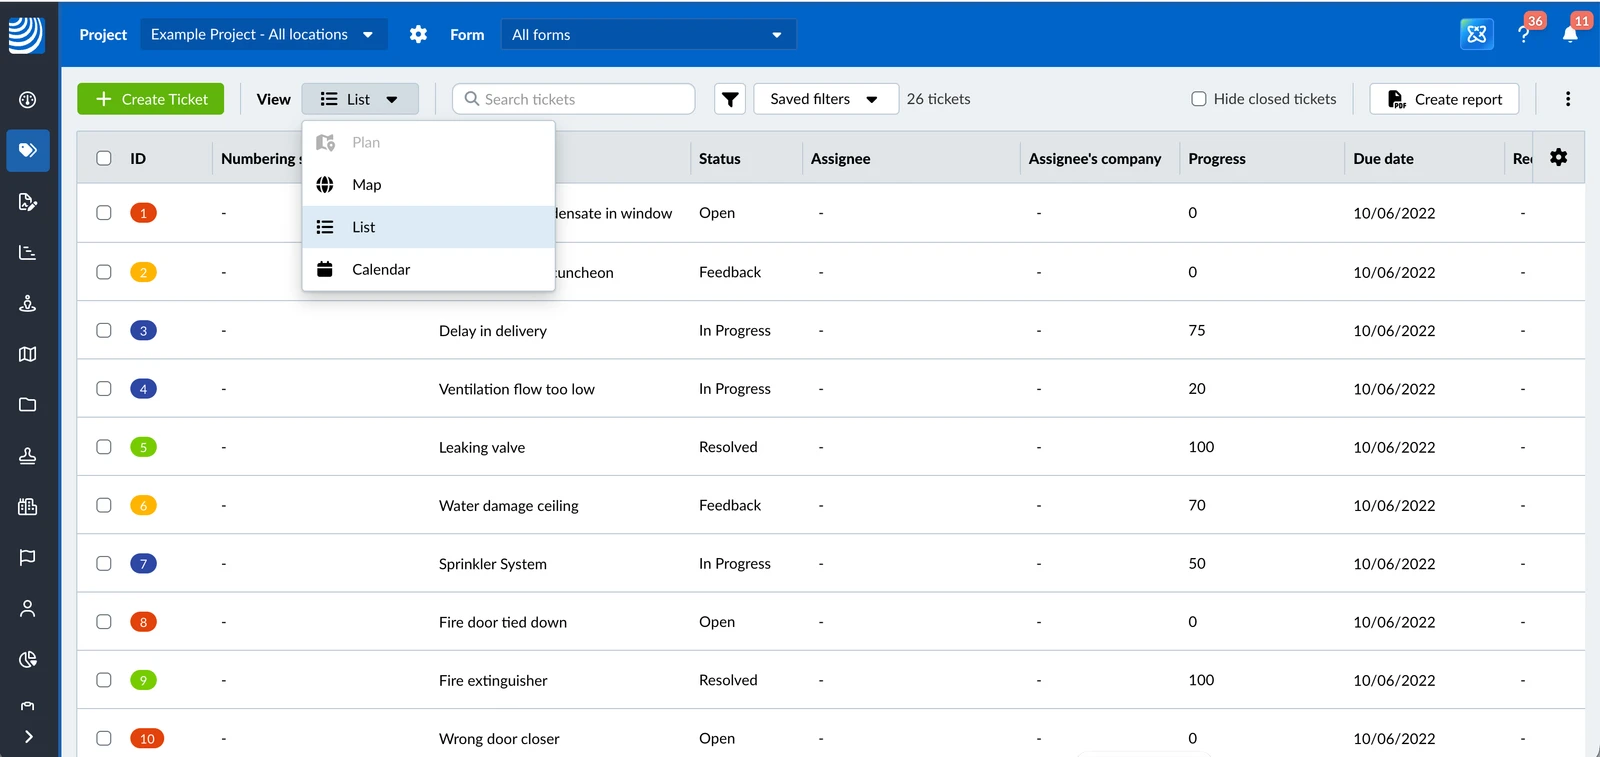
The map view is not available while All projects is selected. Select a project, a location or a plan first.
- Tap Tickets in the main menu
- Tap Map
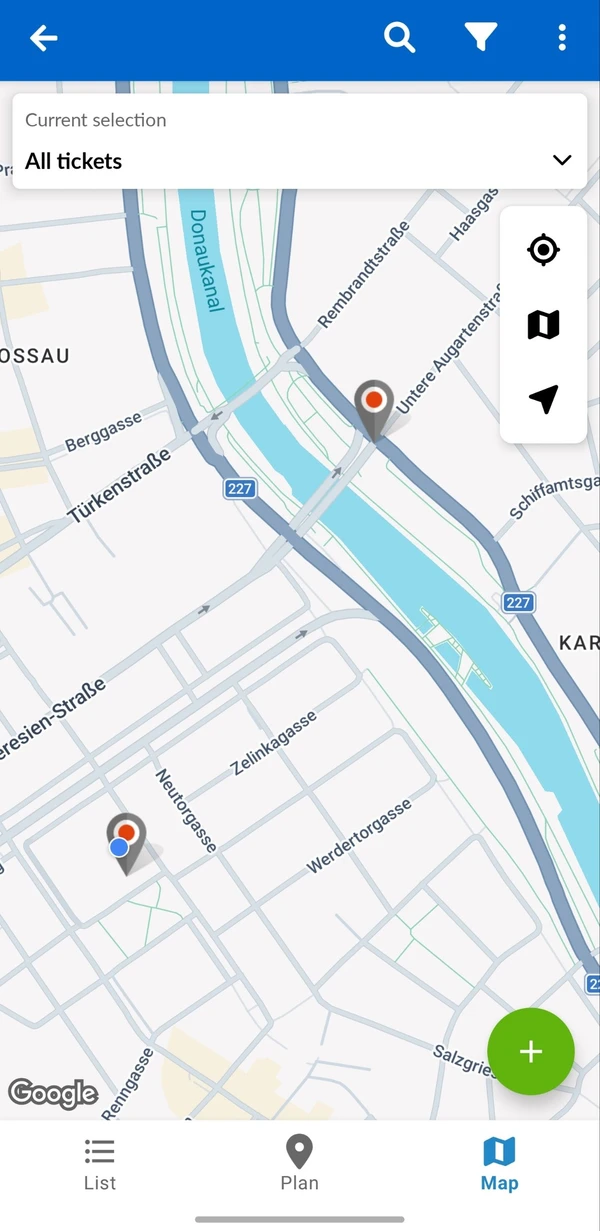
Tickets on the Map
The map shows the tickets of your current selection that have a GPS position — the selected project, location or plan, together with your search and filters. When the map opens, it zooms to show all of them.
The pins look the same as on the plan: their colour shows the ticket status.
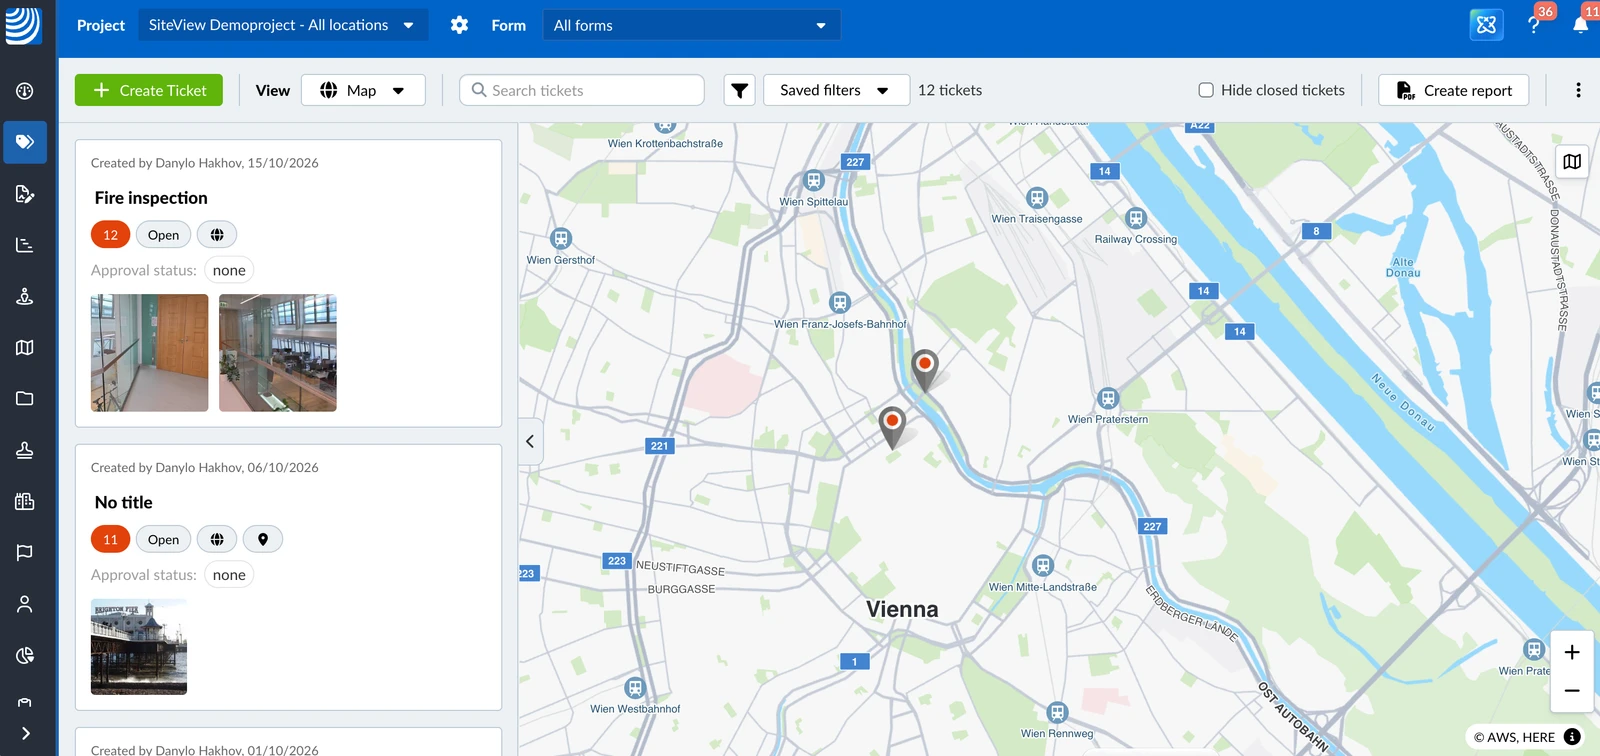
- When 50 or more tickets are on the map, nearby pins are grouped. Zoom in to see the single pins.
- The ticket list next to the map shows all tickets of your selection, including tickets without a GPS position. Read more in Tickets Plan View > Show/Hide Ticket List.
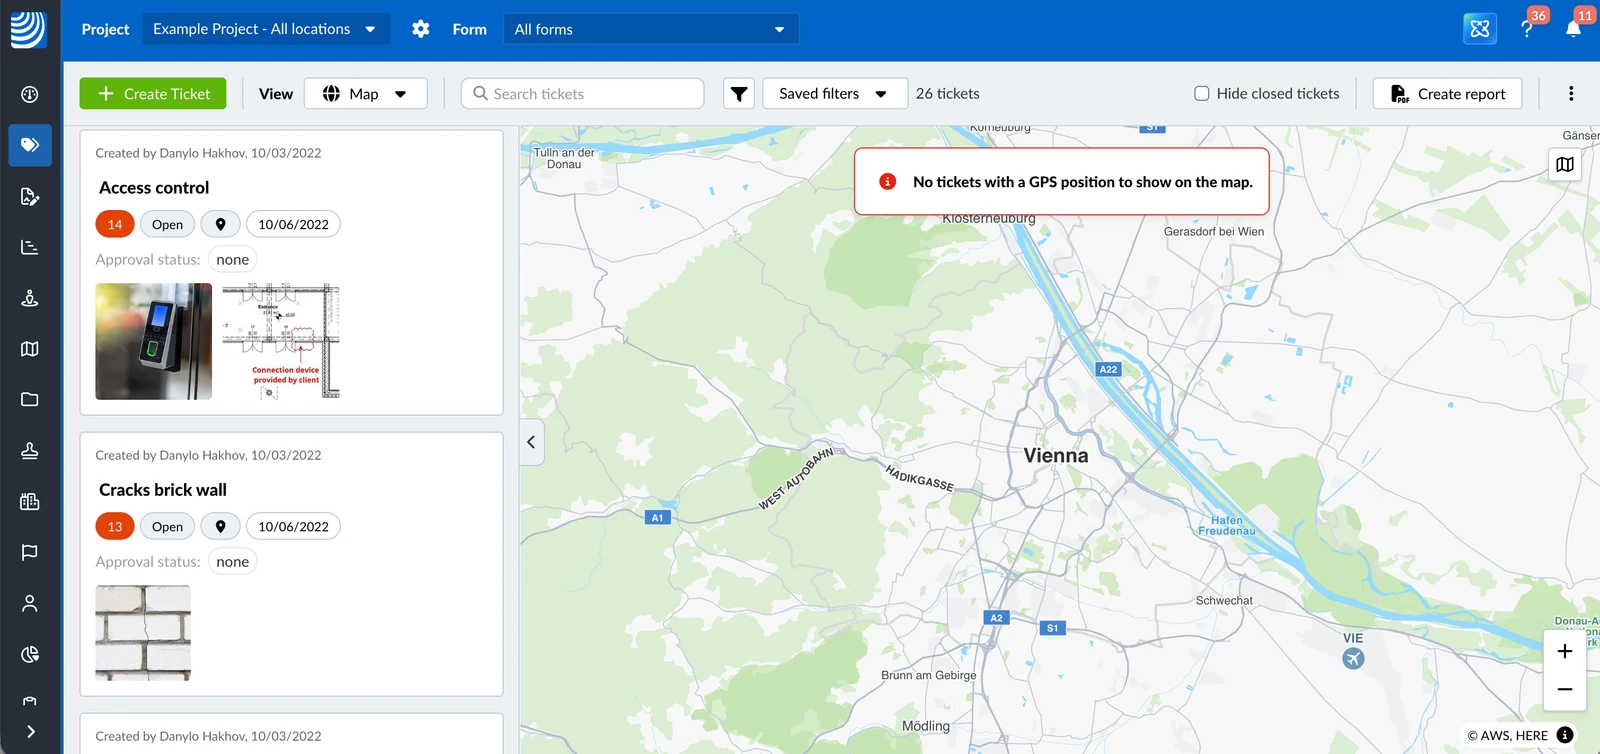
- If no ticket has a GPS position, the message No tickets with a GPS position to show on the map. is shown, and the map centres on the project's address.
- If no ticket has a GPS position, the message No tickets with GPS position to display is shown, and the map centres on your location.
- The map needs an internet connection. While you are offline, it shows You are offline and comes back by itself once you are online again.
Navigate the Map
- Drag the map to pan.
- Use the + and - buttons to zoom.
- Tap the Show all tickets button to zoom back to all tickets.
- Tap the Centre on my location button to go to where you are. PlanRadar asks for access to your location the first time.
Open a Ticket
- Click a ticket pin on the map to open the ticket preview.
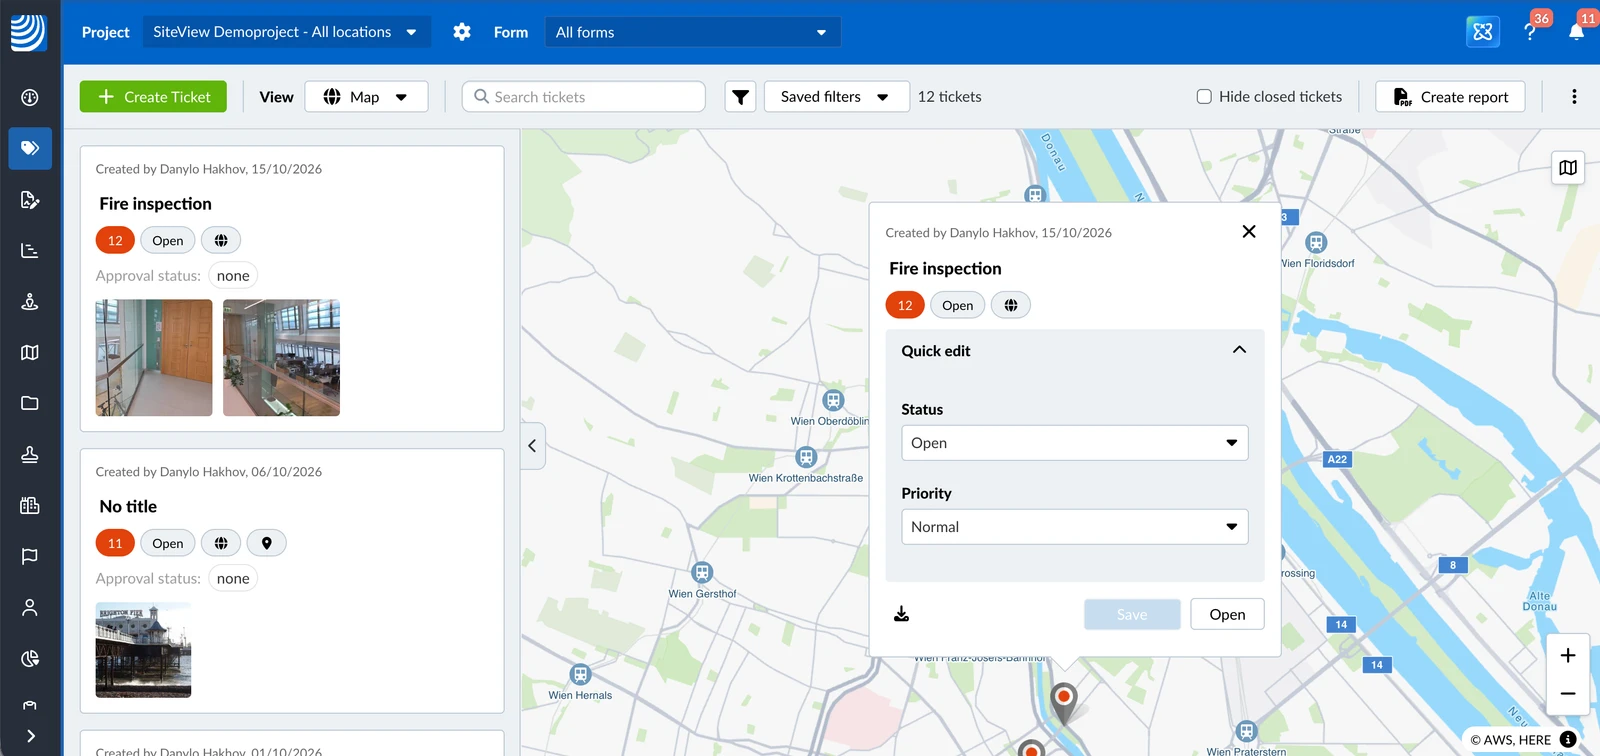
- OR Click the ticket in the ticket list.
- Click Open to view all details of the ticket.
If the ticket you click in the list has no GPS position, its details open directly.
- Tap a ticket pin
- Tap the ticket preview
Change the Map Style
You can switch between a street map and satellite images. Your choice is remembered and used for every map in PlanRadar.
- Click the Change map style button in the top-right corner of the map
- Select a style: Standard, Monochrome, Hybrid or Satellite
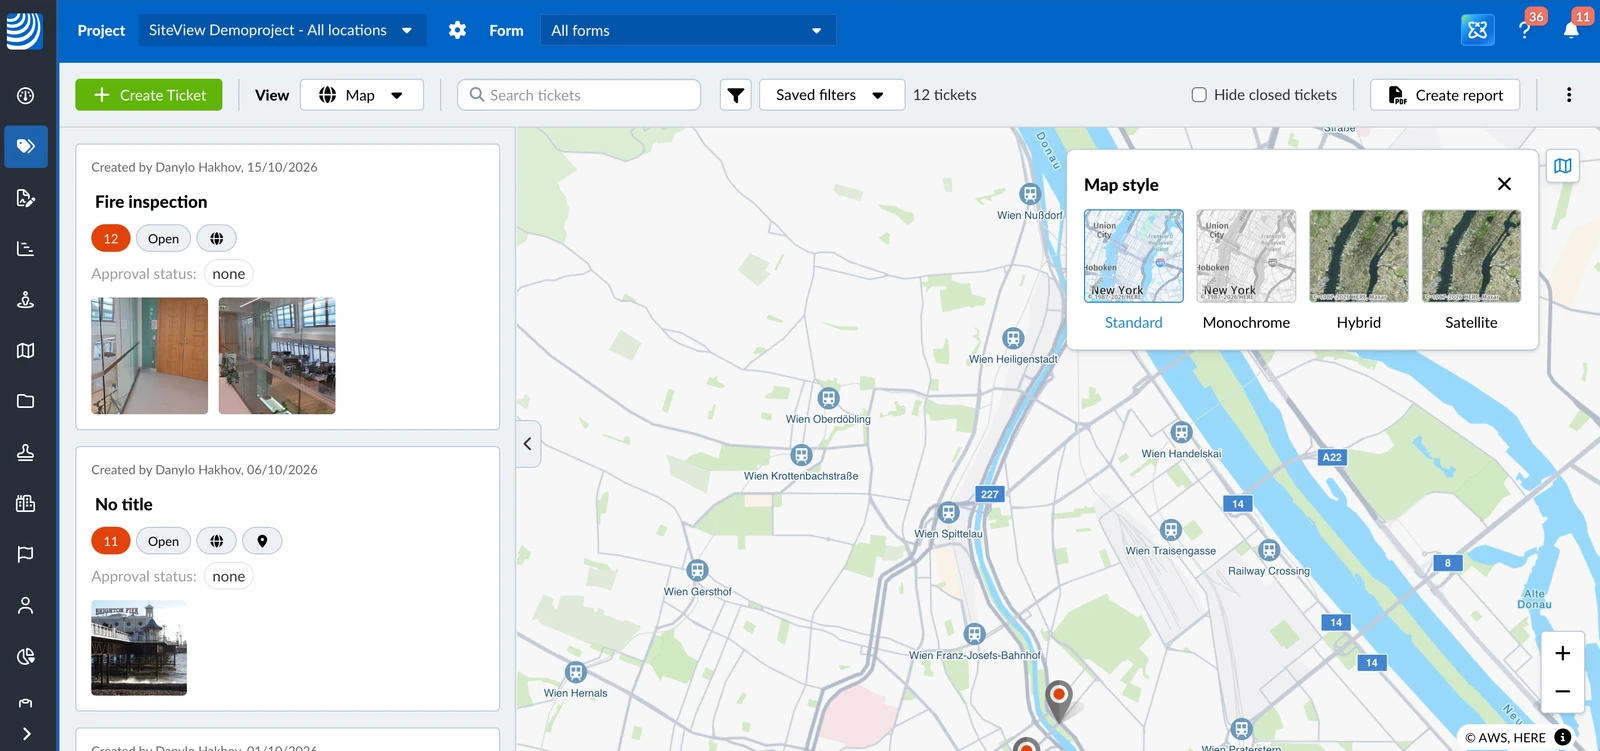
The choice is saved in your browser, so another browser or computer starts with Standard again.
- Tap the Select map type button
- Tap Standard or Satellite
Create a Ticket on the Map
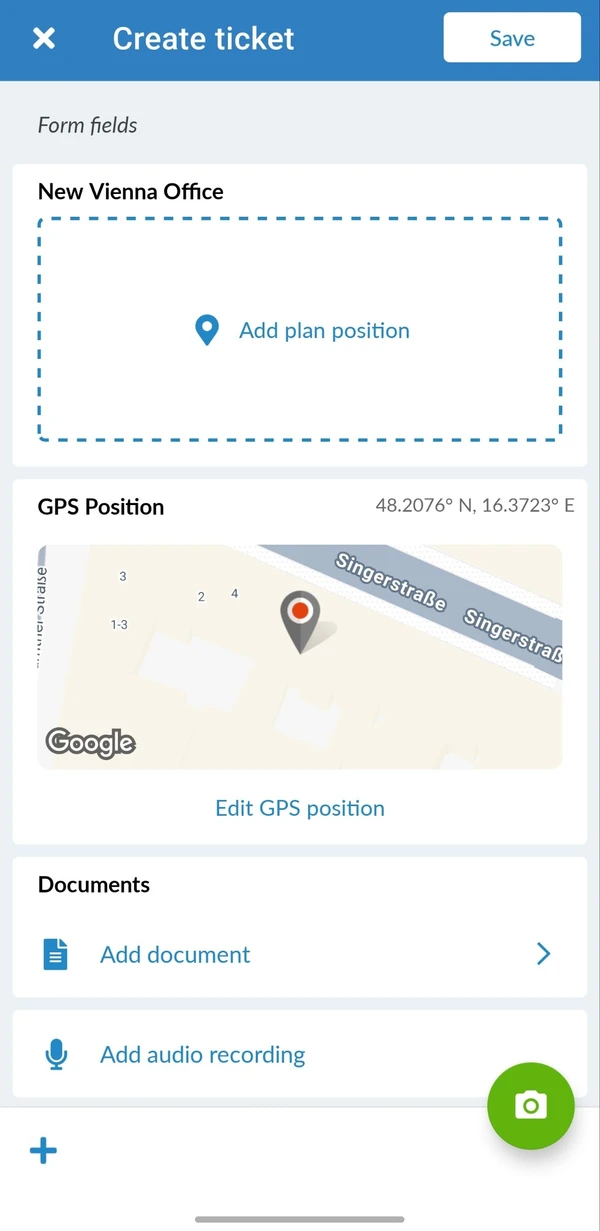
In the mobile app you can create a ticket directly at a position on the map. The ticket gets a GPS position but no plan position.
- Tap +
- If All tickets is selected, select a location first
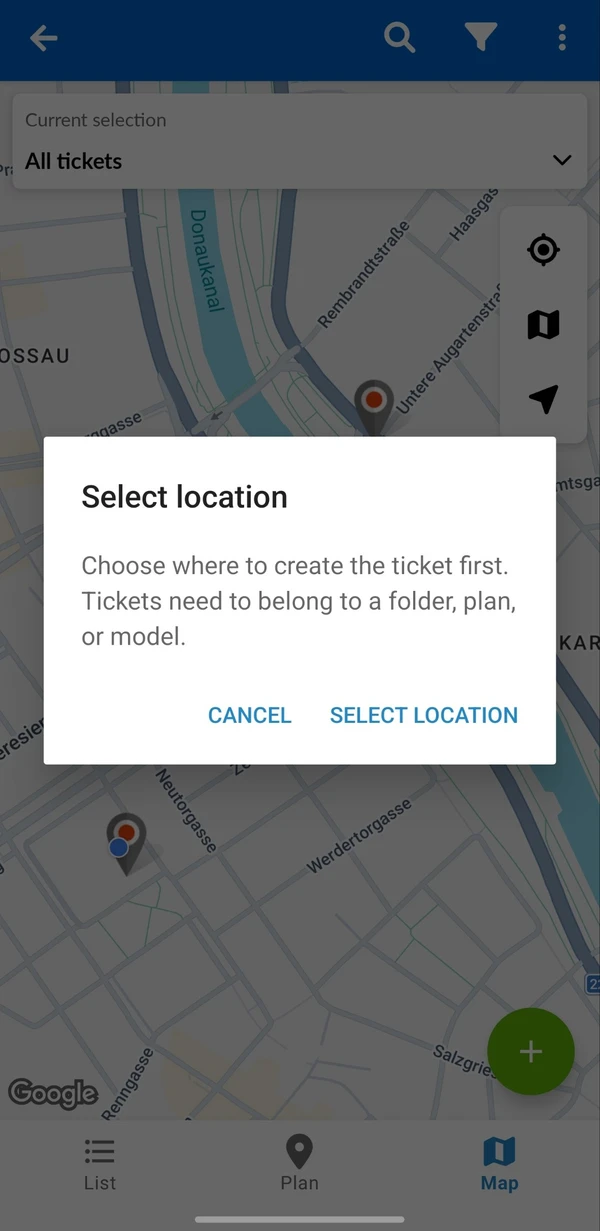
- Move the map until the crosshair is on the right spot
- Tap the confirm button
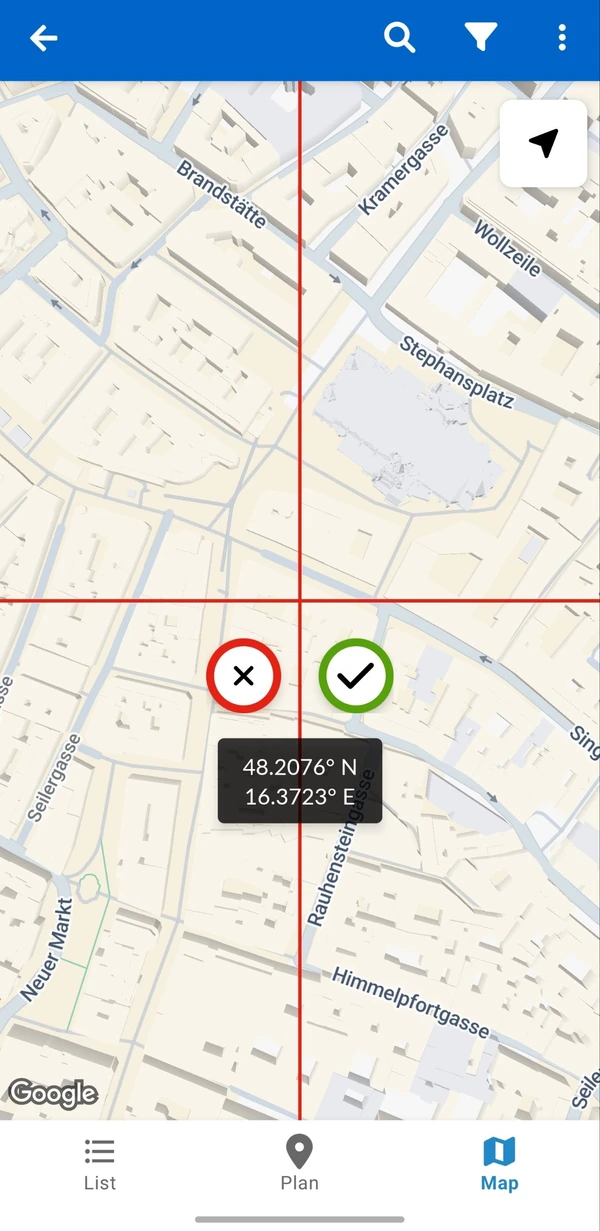
- Fill in the ticket. The GPS position is already filled in. Read more in Create a Ticket
Updated October 6, 2026