

 Deutsch
 Español
 Français
 Hrvatski
 Italiano
 Polski
 Português (BR)
Upload & Manage BIM Models
Overview
A BIM model is an IFC file, and it lives in the Plans section of a project next to your plans. Put it in the folder where your team expects it, the same way you would with a drawing. Read more in Plans & Folders.
PlanRadar supports federated models: up to ten discipline-specific IFC files are shown as a single, cohesive model. The whole federation is one item in the folder — the first file you upload is the model everything else is added to.
Access & Permissions
How to Access Plans
- Click Plans in the main menu.
- Select the project in the project drop-down.
- Open a project and tap Tickets.
- Open the location selector at the top.
- Open the More menu.
- Tap Manage Locations.
Prepare BIM Models for Uploading
Guidelines for Exporting IFC Files
We also recommend that you follow these general guidelines when exporting your IFC files from your BIM authoring tool:
Preparation and Cleanup
Before exporting, clean up the model to ensure it's free from unnecessary details or elements that could increase the file size. This includes removing or simplifying complex geometries, deleting unused elements, layers, or materials, and consolidating similar objects.
Optimisation of Elements
Optimise the elements in your model for performance. This means using solid geometries, simplified representations for complex objects, reducing the level of detail where high precision is unnecessary, and ensuring that the model elements are properly classified and structured.
File Size Management
Large file sizes can significantly impact performance in other tools. Compress textures, and use references instead of embedding data where possible. Consider splitting large models into smaller, manageable files if the software allows.
Properties Management
Ensure that all necessary properties and metadata are correctly assigned to the elements. This includes information like material properties, element classifications, and user-defined properties. However, avoid overloading elements with excessive metadata.
Use of Standardised Elements and Templates
Stick to industry-standard elements and templates to ensure compatibility across different software. Custom or proprietary elements may not translate well in other tools.
Export Settings
In the authoring tool, use correct IFC export settings. Choose the appropriate IFC version and schema that aligns with the requirements of the target software. Select settings that favour performance, like excluding unnecessary data types.
Quality Assurance and Validation
After exporting, validate the IFC file using specialised tools to check for errors, compliance with standards, and overall integrity of the data. This step is crucial to identify and fix any issues that might affect performance in other tools.
Collaboration and Communication
If the IFC file is part of a collaborative project, communicate with other stakeholders to understand their requirements and expectations. This helps in tailoring the export process to meet the specific needs of all involved parties.
Documentation
Document your export process and settings for future reference and for use by other team members. This ensures consistency and efficiency in subsequent exports.
By following these steps, you can optimise the performance of your IFC files in other tools, ensuring effective interoperability and collaboration in BIM projects.
Consistent Coordinate Base
When you federate several IFC files into one BIM model, it's crucial to ensure that all files use the same coordinate base.
IFC files with mismatched coordinate bases can result in misaligned or misplaced model elements, making visualization and coordination challenging. To guarantee accurate representation and overlay of your models, always establish a common coordinate system before exporting from your design software.
This ensures that when federated IFC models are viewed in the BIM viewer, all elements align and display as intended, providing a seamless and accurate experience.
Upload a BIM Model
An IFC file is uploaded like any other file in the Plans section.
- Select the folder the model should go into.
- Click Add new item.
- Click Upload plans.
- Select the IFC file.
- Click Upload.
- Open the folder the model should go into.
- Tap +.
- Tap Upload a file.
- Select the IFC file.
IFC files have no preview and cannot be rotated in the uploader, and they are always published. They count against a BIM model quota of their own, separate from your plan quota.
Manage the IFC Files of a Model
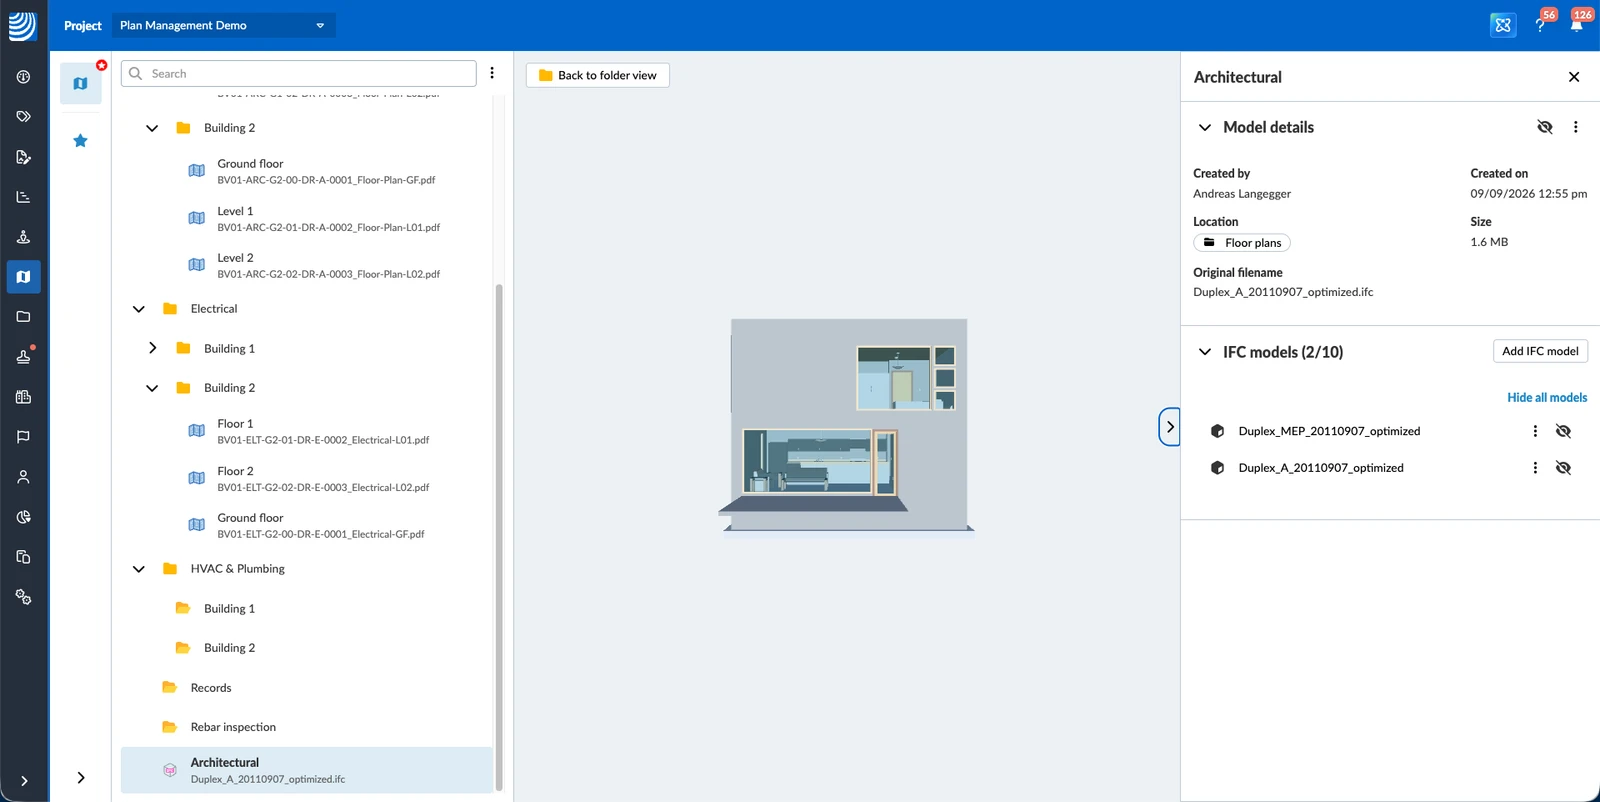
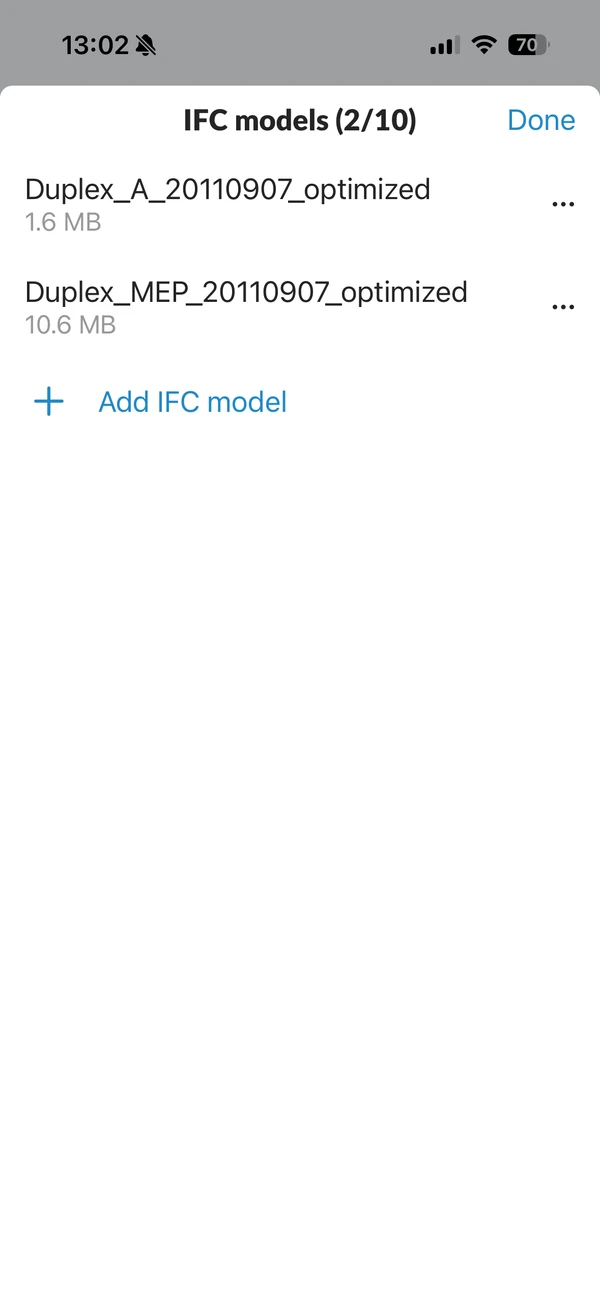
The IFC files that make up a federated model are managed inside the model itself, not as separate items in the folder. The first file you uploaded is the master; the ones you add sit next to it as equals in the list, up to ten in total. The list is called IFC models and shows how many of the ten places are taken.
To open the list:
- Open the More menu on the BIM model.
- Click Details.
- Open the IFC models section.
- Open the More menu on the BIM model.
- Tap IFC models.
Add an IFC File
- Open the IFC models section of Model details.
- Click Add IFC model.
- Select the IFC file.
- Click Upload.
- Open the More menu on the BIM model.
- Tap Add IFC model.
- Select the IFC file.
A model that already holds ten IFC files takes no more.
Rename an IFC File
You can give each IFC file a title that says which discipline it covers. The original filename stays as it was.
- Open the IFC models section of Model details.
- Open the More menu on the file and click Rename.
- Type the new title.
- Click Save.
- Open the IFC models sheet.
- Open the More menu on the file.
- Tap Edit title.
- Type the new title.
Show and Hide Models
In a federated model you can show and hide individual IFC files. What you set here is what the BIM viewer shows.
To hide or show a single file, click the eye icon next to it in the IFC models section. Use Hide all models and Show all models for the whole federation.
Download an IFC File
- Open the IFC models section of Model details.
- Open the More menu on the file and click Download.
- Open the IFC models sheet.
- Open the More menu on the file.
- Tap Download.
Users with view rights can download models, but not change them.
Delete an IFC File
- Open the IFC models section of Model details.
- Open the More menu on the file and click Delete.
- Click Delete to confirm.
- Open the IFC models sheet.
- Open the More menu on the file.
- Tap Delete.
- Tap Delete to confirm.
Manage the BIM Model in the Folder
A BIM model is an item in a folder, so you rename, move, download and delete it the same way you would a plan — its More menu has Open in new tab, Move, Details, Rename, Download and Delete. There is no Versions entry, because BIM models are not versioned. A model with tickets on it cannot be deleted.
Updated September 3, 2026